Options
Using this light box set up and camera, how would you...
I just bought a new camera, a T4i. It replaced my aging XTi.
I need help setting up the camera for shooting pens that I make with a home made light box. Here's my set up (forgive the mess, please!):
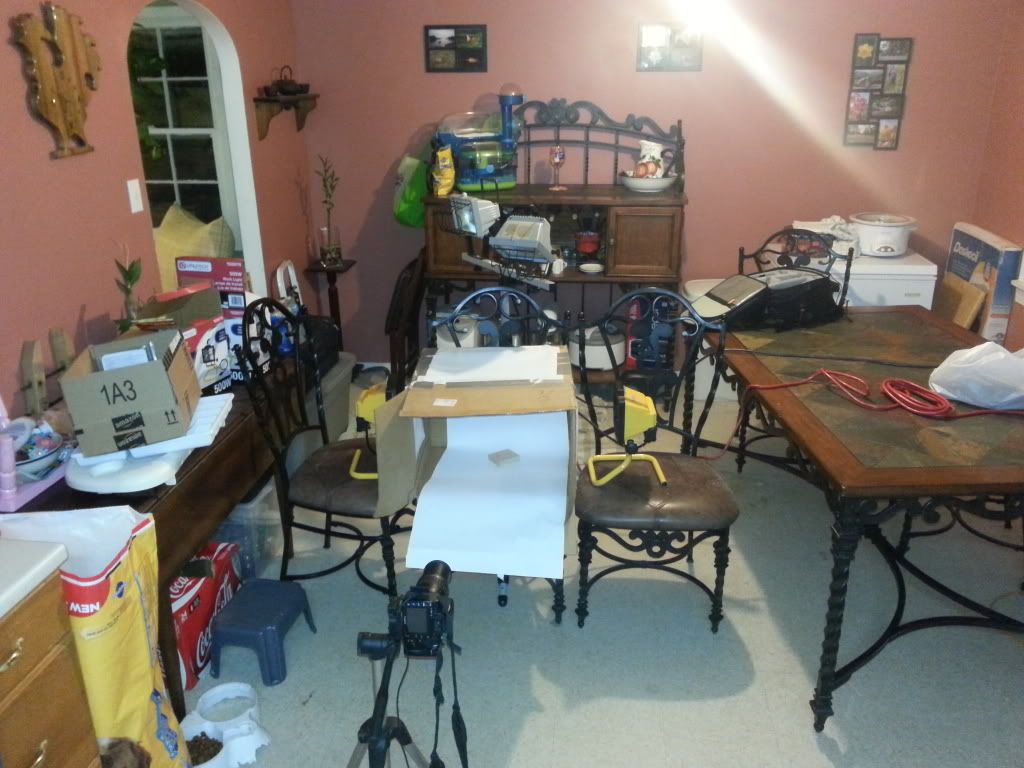
One 500W halogen on each side and a single 500W halogen above.
It's bright enough to wash out the ceiling light when powered up.
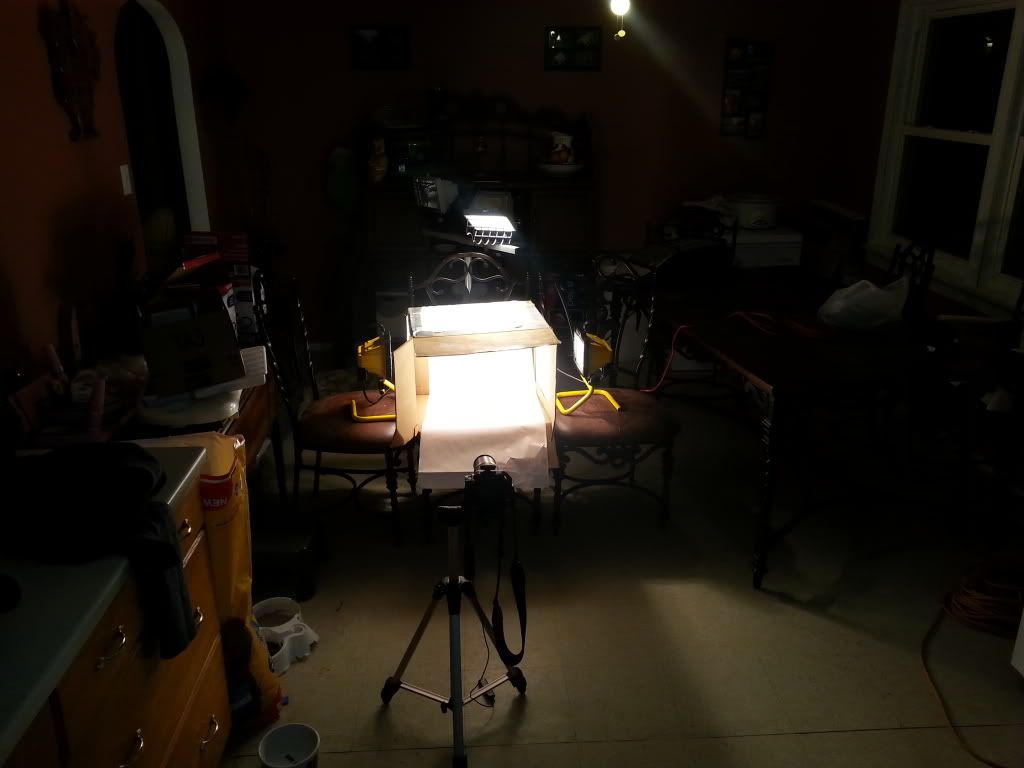
The light box is just a simple heavy-duty cardboard box with three windows cut out, one on the left and right sides and one on top. A thin white sheet is taped in place to diffuse the light.
I haven't used my new camera yet for this purpose, and only have (for now) the stock 18-55 kit lens. I use a remote trigger to prevent shifting the camera body when shooting.
Can any of you help out with what camera settings to start out with, such as ISO/Tv/Av/step combinations you'd employ?
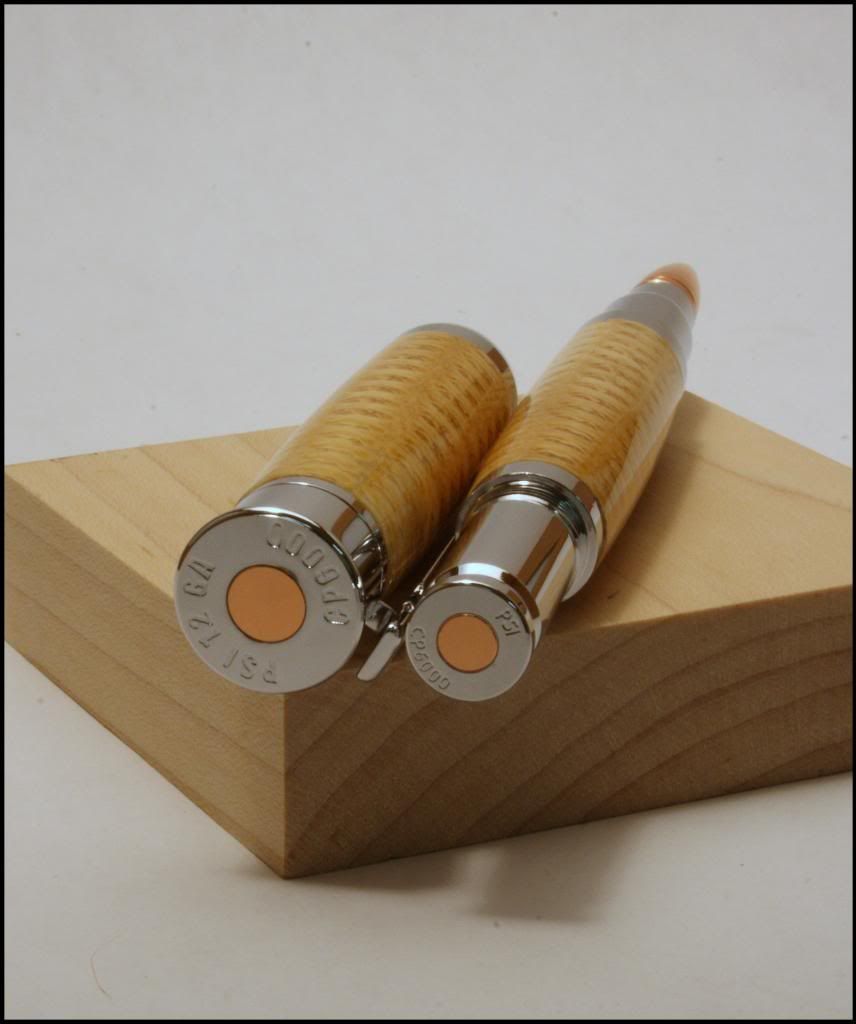
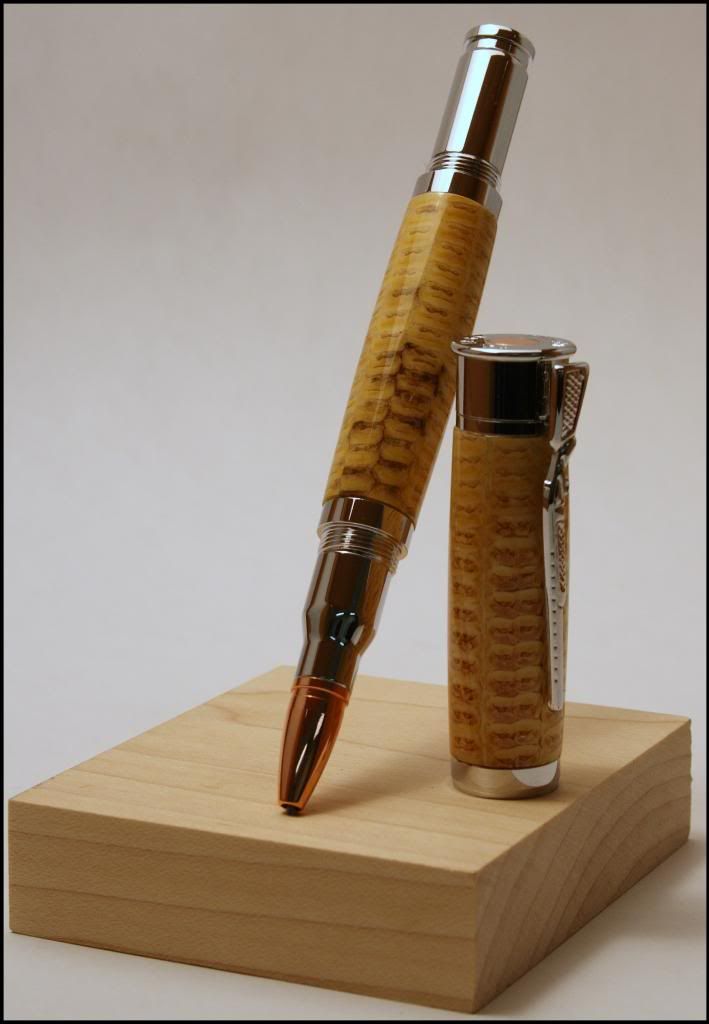
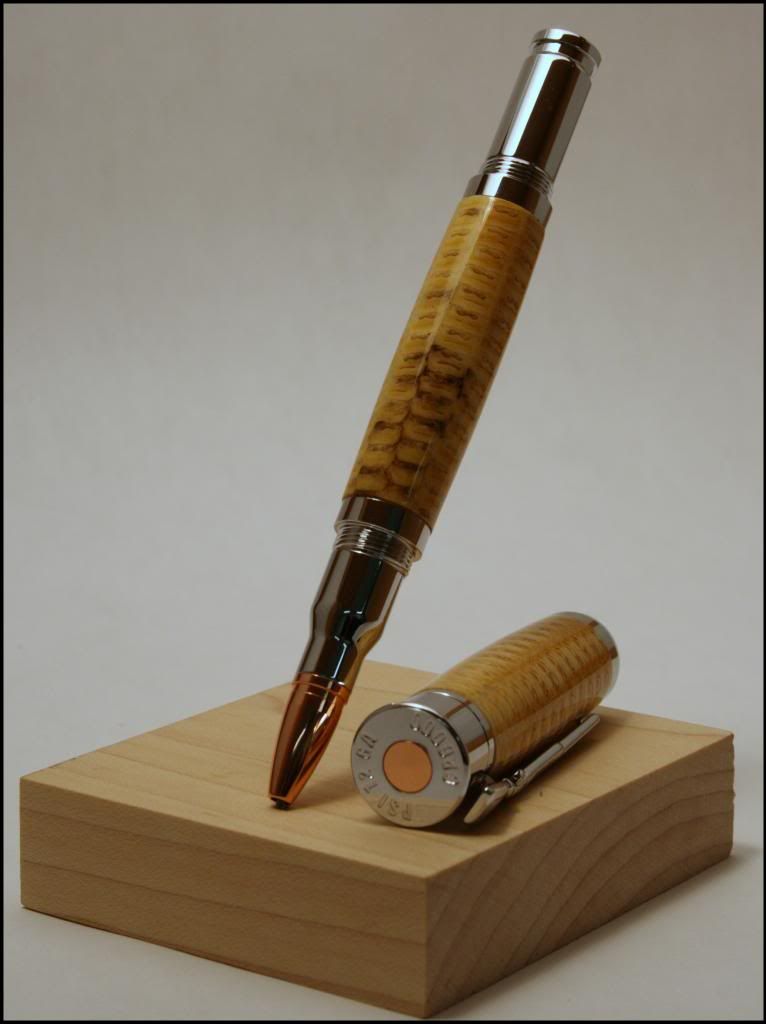
Here are a couple done with the older XTi to give you an idea of what I'm shooting (they were done with only one light above, so things have changed, for the better, with three):
Thanks!
I need help setting up the camera for shooting pens that I make with a home made light box. Here's my set up (forgive the mess, please!):
One 500W halogen on each side and a single 500W halogen above.
It's bright enough to wash out the ceiling light when powered up.
The light box is just a simple heavy-duty cardboard box with three windows cut out, one on the left and right sides and one on top. A thin white sheet is taped in place to diffuse the light.
I haven't used my new camera yet for this purpose, and only have (for now) the stock 18-55 kit lens. I use a remote trigger to prevent shifting the camera body when shooting.
Can any of you help out with what camera settings to start out with, such as ISO/Tv/Av/step combinations you'd employ?
Here are a couple done with the older XTi to give you an idea of what I'm shooting (they were done with only one light above, so things have changed, for the better, with three):
Thanks!
0
Comments
Are you sure you were a Marine? That room looks a bit untidy for a Marine.
That said, I think your images are above average for small one man operations.
I am impressed especially after seeing your gear and set up. That room has got to get
hotter than Hades when all those shop lights are powered up. If the budget allows it you may want to look into cooler lighting options.
The kit lens is not the best option for shooting small products. I would choose a macro lens, but if funds are an issue consider the nifty 50mm 1.8. I would shoot at ISO 100 with an aperture between f8 and f11, unless you have a specific narrow depth of field look you are going for. Be careful about where to you focus as well. Use single center point focus.
Next time you post include the EXIF data. That will help with critiquing your images.
Also you may want to look at different creative ways to display your pens.
here in shot I did of a pen made by a local guy.
Sam
ISO 100, 100MM 2.8 macro lens, f11, shutter speed 3/10 of a second. No flash or lights other than overhead color balanced florescent lights used for general office studio lighting
It seems to me that you have too much light. You are likely to get hot spots on the
chrome parts. I assume your camera shoots RAW images. When doing similar projects
I shoot RAW at F/8 with a slower shutter speed and use a remote to trigger the shutter.
My remote was a Chinese internet purchase for less than $10. If you don't have a remote,
use the delayed shutter setting. Either eliminates the camera jiggle of pressing the
shutter.
I under-expose in the shot and bring the RAW image up to the right level.
Less light, and cooler bulbs than the shop lights work fine, and make it more
comfortable for you. Using a WB card for the first shot and then adjusting
the WB in post helps.
For some shots I use a penlight to highlight a particular part of the object
that is a bit in shadow. If you use a remote or shutter delay you have your
hands free for this.
If your lens has VR, or whatever Canon's term is for vibration reduction, be
sure and turn it off for tripod shots.
I've shot a lot of sterling silver products using a home-made light box and
Nikon kit lenses. One of my light boxes is a parchment lampshade so I can
shoot straight down on the object.
http://tonycooper.smugmug.com/
I bought three cheapie tripods for under $5 each at Goodwill, and use them as
light stands. They're light and easy to move around, and allow easy adjustment
of the position of the lights. Also, easy to store when not being used.
http://tonycooper.smugmug.com/
Actually, I was in the process of moving things around and cleaning up for a poker game...it looks much better now! I make pens, but only one at a time. I typically only shoot one or two at a time, so heat isn't too much of an issue. I know I need to come up with better ways to frame the pen. I'm thinking about a mirror like what you used in a black box. Might make things a bit easier.
Tony--
I used the nifty 50 for these shots. I dunno how to attach the EXIF info, though. I shot this after reading the responses above.
I shot these as close as the lens could focus, at f10, ISO 100, which gave me about 1/100s shutter speed (I think).
Can I upload more than one image per post?
Brad
www.facebook.com/SwearingenTurnings -- Hand made pens by yours truly
Brad
www.facebook.com/SwearingenTurnings -- Hand made pens by yours truly
Brad
www.facebook.com/SwearingenTurnings -- Hand made pens by yours truly
I am on my lap top now and can't see any graininess,but I will look tomorrow on my big monitor.
Sam
http://tonycooper.smugmug.com/
"You miss 100% of the shots you don't take" - Wayne Gretzky
Just my findings.
Sam