Options
Upgrade to my shooting table
Greetings,
In an on going attempt to clean up the clutter around my shooting table I decided to purchase a wall mounted boom arm and eliminate my existing boom arm/rolling light stand.
Trouble is, I don't have any wall space to mount it :scratch
No problem says I, I'll build a removable folding "wall" that will attach to my shooting table (my work bench :wink).
Then I thought, heck. Why not two arms and eliminate two light stands when not using a boom ?
I decided 4' wide would also allow me to position my lights from the sides, I still need to use an offset arm on the end of the boom to accommodate positioning softboxes.
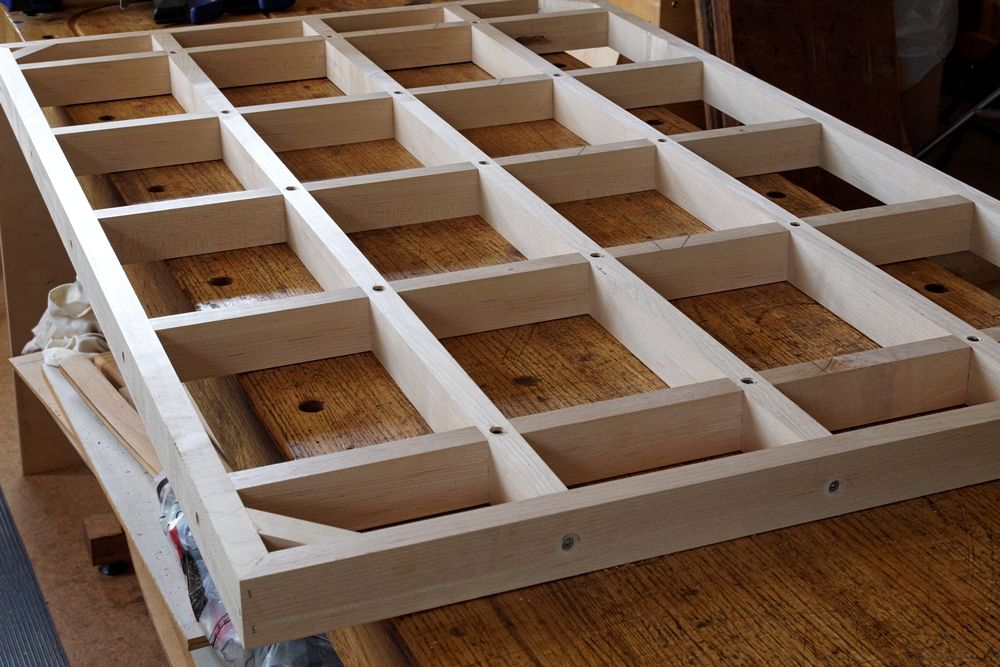
The "wall" is a torsion box made of a grid of maple screwed and glued to 1/2" Baltic birch plywood on both sides. This results in a very rigid and relatively light panel. A smaller panel is clamped to my bench, hinged to the larger panel and chains support the upright. It can be removed and folded for storage. The booms themselves attach with bolts and wing nuts.
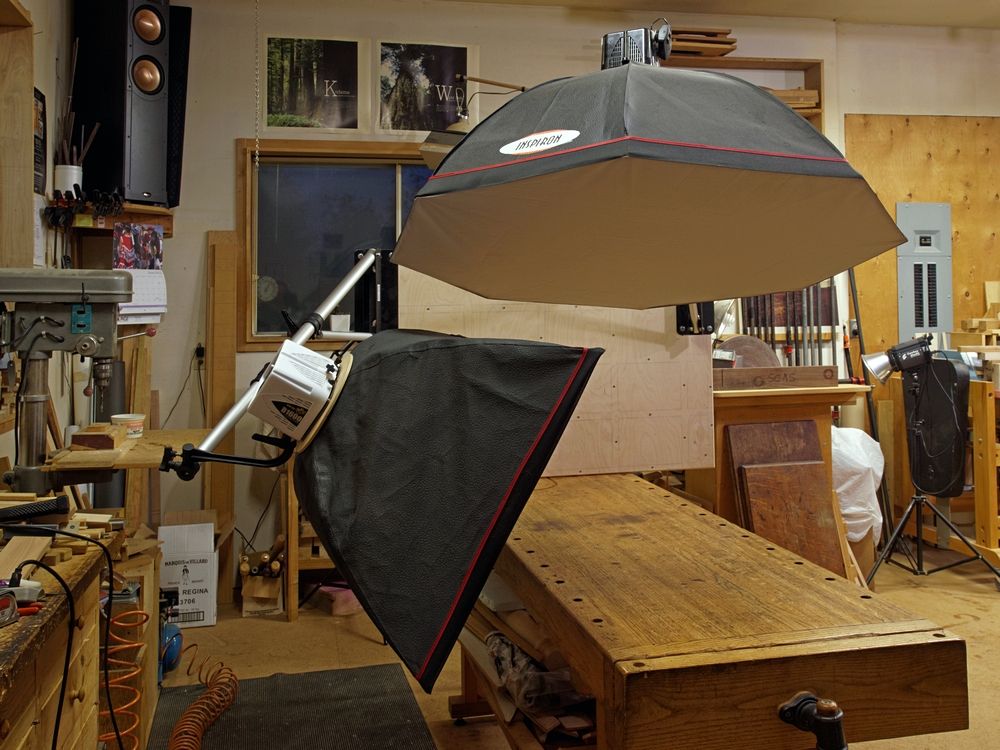
This is the existing paper backdrop stand with the two new booms.

The interior grid for the torsion box.
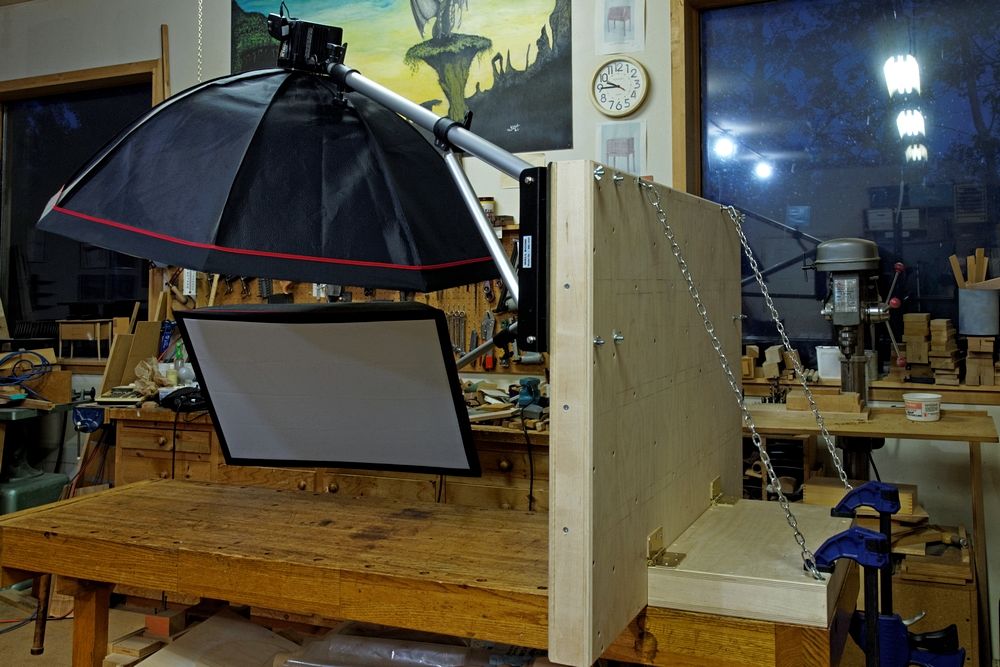
Back view.
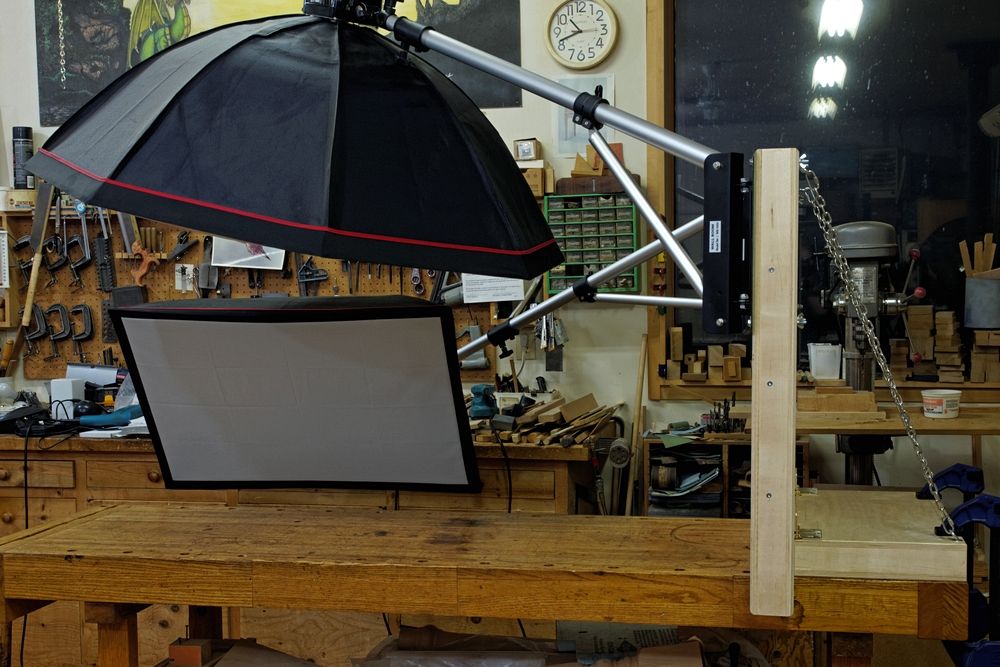
Side view.
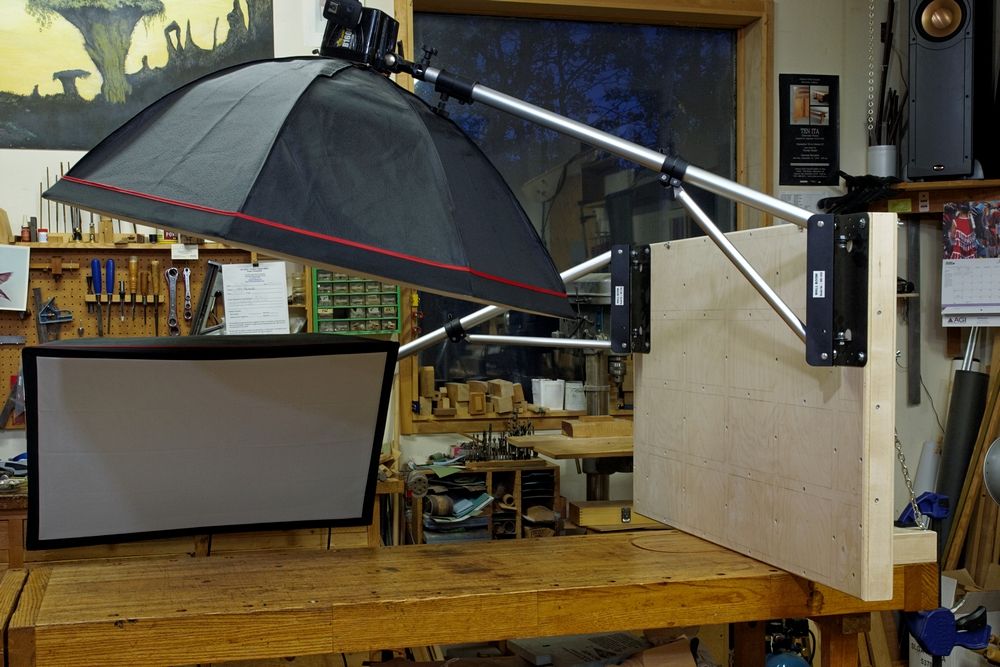
Three quarter side view.
Front left view.
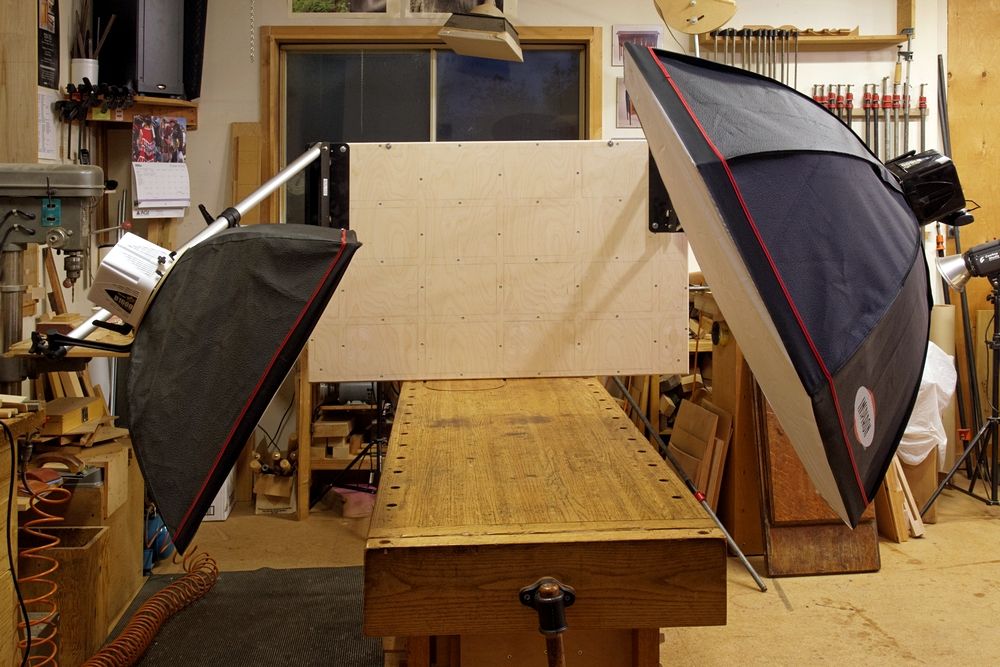
Front view.
Just need to attach my 36" wide seamless and I should be good to go...
BTW, from the wall to flash tube is 6'.
Cheers, Don
In an on going attempt to clean up the clutter around my shooting table I decided to purchase a wall mounted boom arm and eliminate my existing boom arm/rolling light stand.
Trouble is, I don't have any wall space to mount it :scratch
No problem says I, I'll build a removable folding "wall" that will attach to my shooting table (my work bench :wink).
Then I thought, heck. Why not two arms and eliminate two light stands when not using a boom ?
I decided 4' wide would also allow me to position my lights from the sides, I still need to use an offset arm on the end of the boom to accommodate positioning softboxes.
The "wall" is a torsion box made of a grid of maple screwed and glued to 1/2" Baltic birch plywood on both sides. This results in a very rigid and relatively light panel. A smaller panel is clamped to my bench, hinged to the larger panel and chains support the upright. It can be removed and folded for storage. The booms themselves attach with bolts and wing nuts.
This is the existing paper backdrop stand with the two new booms.
The interior grid for the torsion box.
Back view.
Side view.
Three quarter side view.
Front left view.
Front view.
Just need to attach my 36" wide seamless and I should be good to go...
BTW, from the wall to flash tube is 6'.
Cheers, Don
0
Comments
Bravo, sir. Bravissimo!
Moderator of the Cameras and Accessories forums
Very nice solution, but I do have a question. I can't figure out what the the individual wall components look like and how they fit together and fastened.
That said if you were to build a house with the same construction I think it would survive a class 5 hurricane.
Sam
Thank you !
Hi Sam,
This whole project started with upgrading my tripod to a camera stand. That eliminated three legs and the inconvenience of height adjustments. I also added a laptop tray to the stand and eliminated a rolling table. Since then I have also added another arm so I can mount two cameras with different lens on each.
I regularly document the build of wood commissions, now I can simply roll the stand into place. Use whatever lens is appropriate and roll the unit out of the way again.
With this latest build, I've eliminated two light stands and/or a boom stand. The only mechanics on the floor is the table itself and the camera stand...
Perhaps this will clear up the construction details...
The smaller box (12" x 24" x 2 3/4") allows me to clamp the unit to my bench. The hinges hold the larger box (48" x 30" x 2 3/4") upright and allow the two boxes to be folded for storage.
The chains support the weight of the booms and the wing nuts/bolts also allow me to remove the arms for storage.
Cheers, Don
Product Photography
My Acreage Bird Photographs
Test shot, nothing fancy, even lighting ratio..
Cheers, Don
Product Photography
My Acreage Bird Photographs
Moderator of the Cameras and Accessories forums