How to fake white balance.
This wont always work, but it can help in a situation with harsh lighting, such as this.
So this was the original shot:
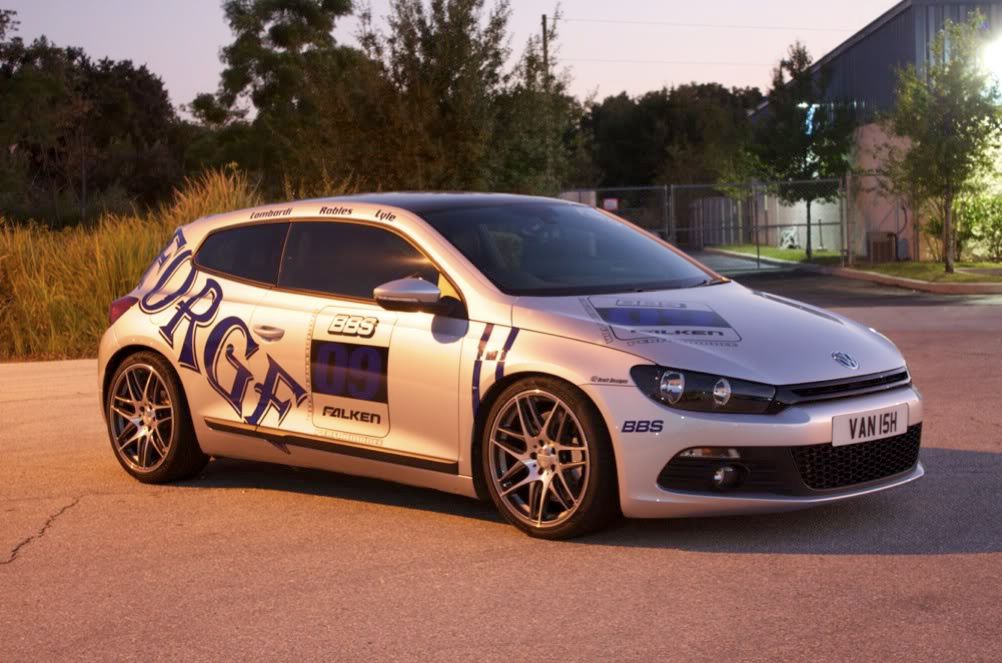
The main goal of the day was to film the Scirocco for The CFLEuro Video, so most of my pictures of it were in the dark. I also took a light trails one, but I havent gotten around to editing it yet.
Anyways, I shot in RAW so I opened the image in Camera RAW. I used the white balance tool and took the correct white balance from the front, saved it, and then took another from the back of the car, and saved that one.
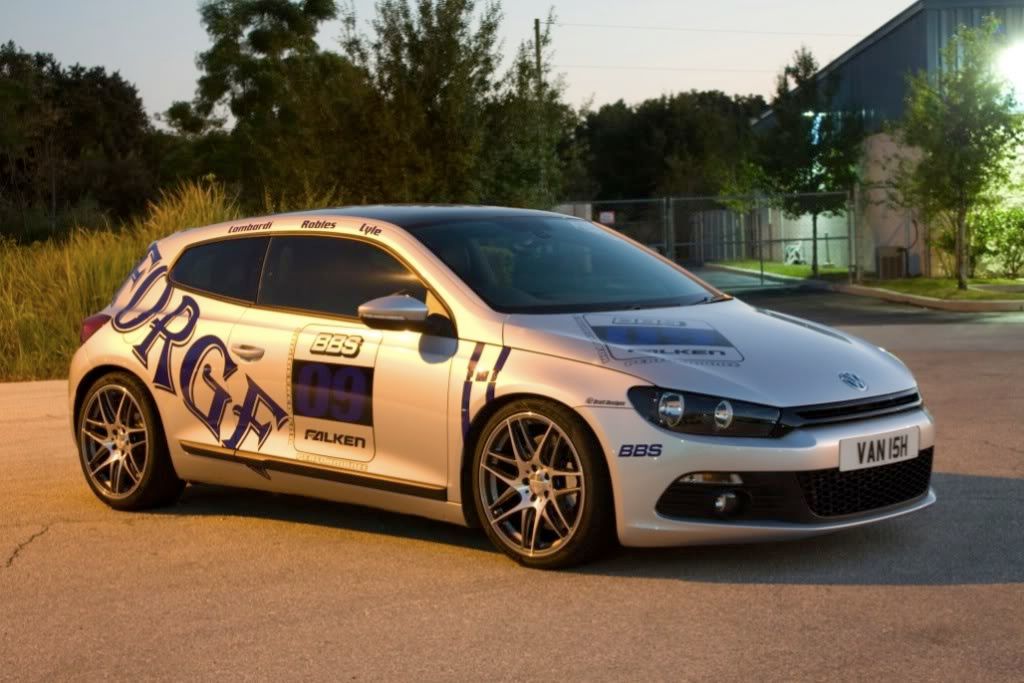
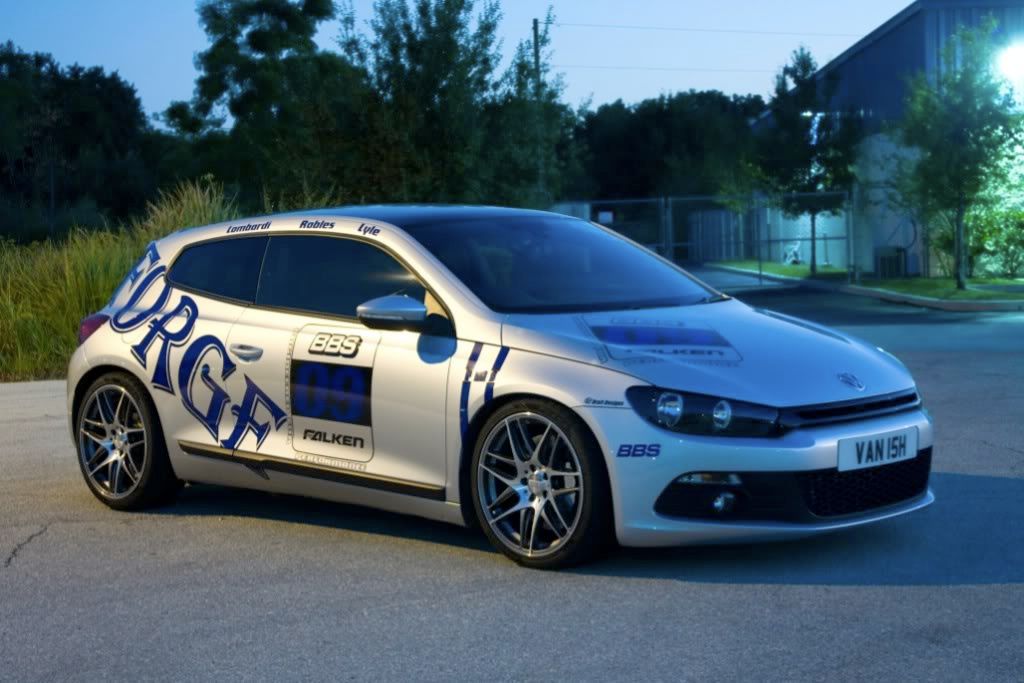
I then used a layer mask and a soft brush to blend them together:
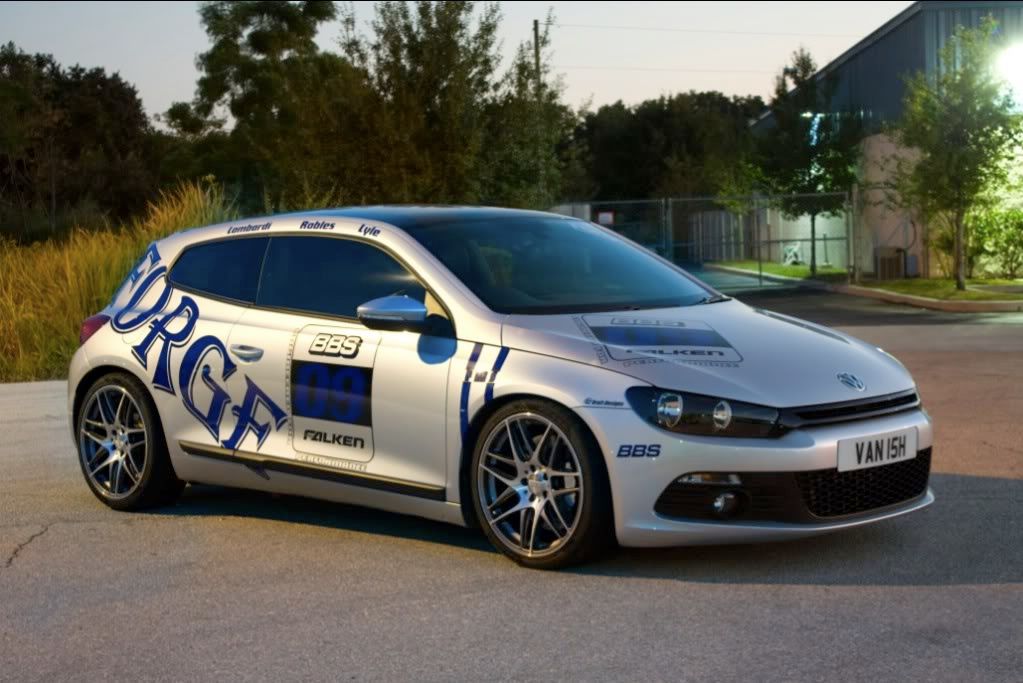
The (this is the top secret part) since it is a grey car, I added an b&w adjustment layer and painted out the parts that I wanted to be in color! I think I lowered the opacity on that layer a little too.
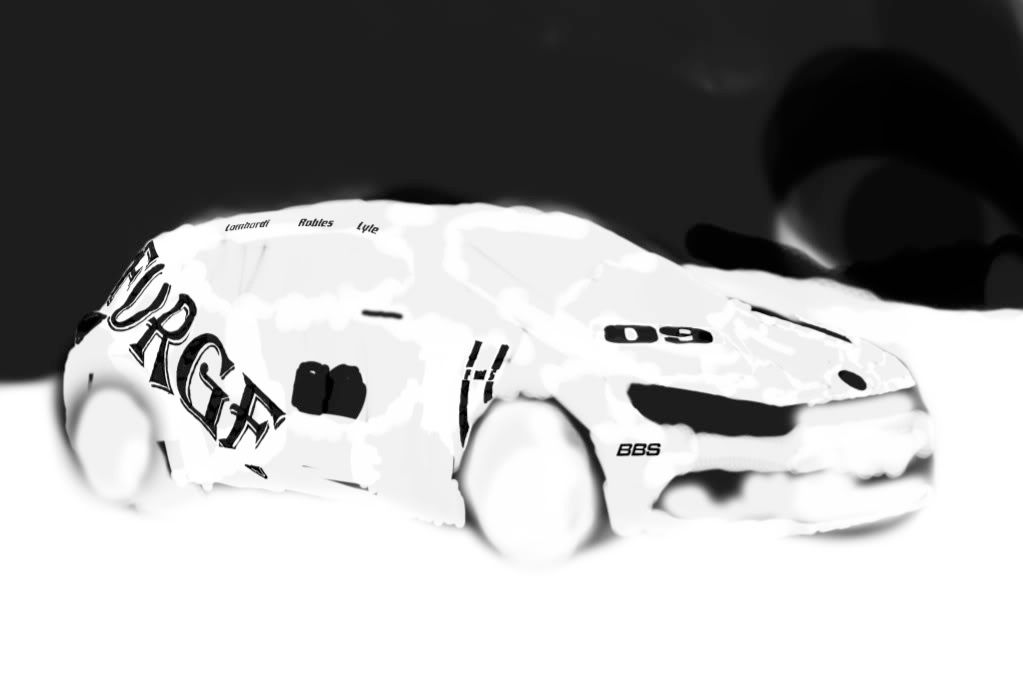
Result:
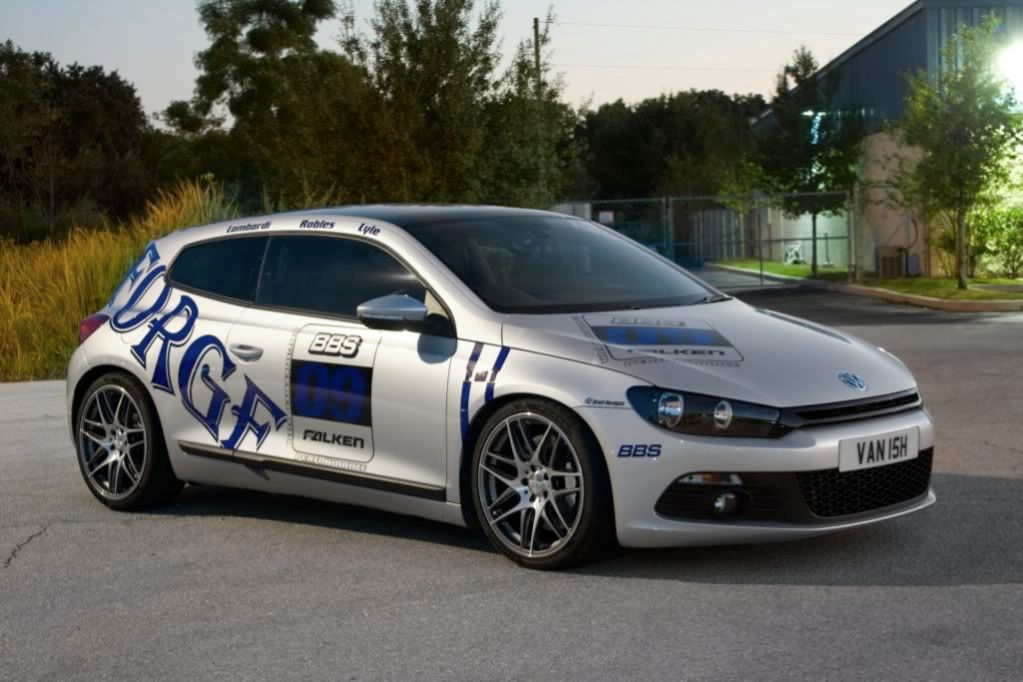
At this point, I did a little cleaning up with the clone stamp/ healing brush tools, a levels adjustment layer, did some dodging and burning (mostly on the front end), stamped the visible layers and used the high pass filter for sharpening, and then added the border.
This is what my layers palette looks like:
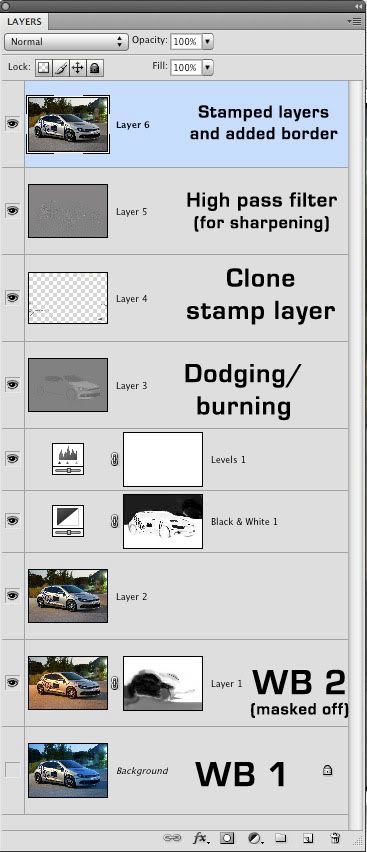
Final Result:

I hope that made sense for everyone since I suck at describing this. Any more questions feel free to ask!
NOTE: all the images except the final result are screenshots of photoshop so thats why they look shitty.
So this was the original shot:

The main goal of the day was to film the Scirocco for The CFLEuro Video, so most of my pictures of it were in the dark. I also took a light trails one, but I havent gotten around to editing it yet.
Anyways, I shot in RAW so I opened the image in Camera RAW. I used the white balance tool and took the correct white balance from the front, saved it, and then took another from the back of the car, and saved that one.


I then used a layer mask and a soft brush to blend them together:

The (this is the top secret part) since it is a grey car, I added an b&w adjustment layer and painted out the parts that I wanted to be in color! I think I lowered the opacity on that layer a little too.

Result:

At this point, I did a little cleaning up with the clone stamp/ healing brush tools, a levels adjustment layer, did some dodging and burning (mostly on the front end), stamped the visible layers and used the high pass filter for sharpening, and then added the border.
This is what my layers palette looks like:

Final Result:

I hope that made sense for everyone since I suck at describing this. Any more questions feel free to ask!
NOTE: all the images except the final result are screenshots of photoshop so thats why they look shitty.
0
Comments
Pictures | Website | Blog | Twitter | Contact
Wow what a fantastic result you have produced. I have CS4 and when I am in ACR and go to the presets for WB I find that each WB produces a different temp setting. Am I right in saying that I just need to fiddle about with the temp setting rather than alter the necessacry presets for WB? I have followed your instructions and I get the idea and it certainly works. Excellent and I really appreciate what you have outlined and I am sure others will totally agree.
Regards
Bob