Can I get a little help with some strange blue/orange fringe to my film shots?
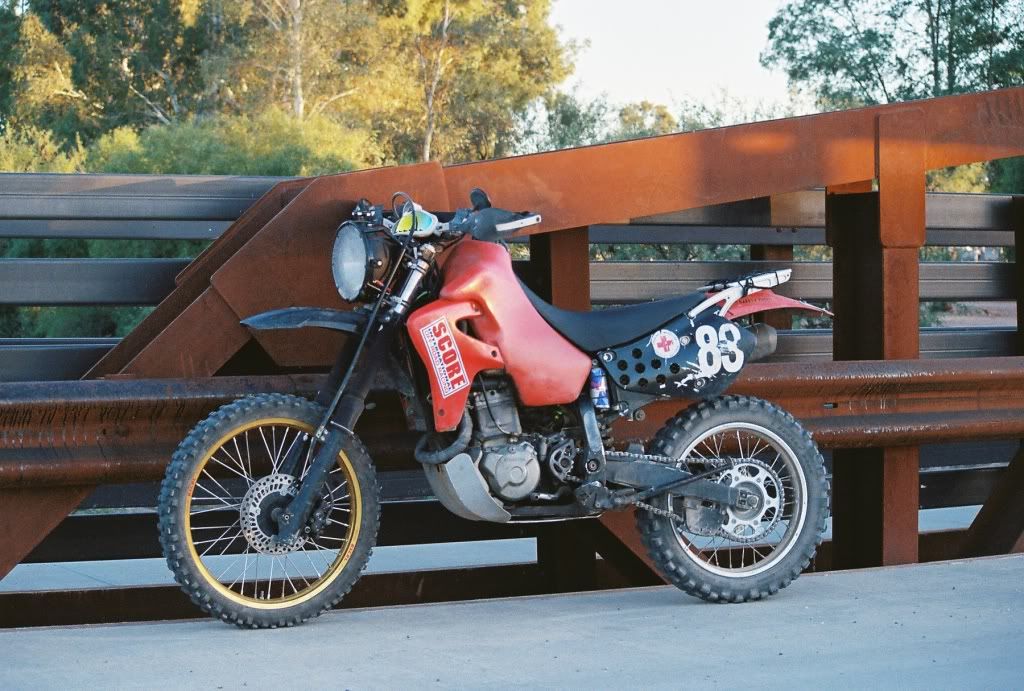
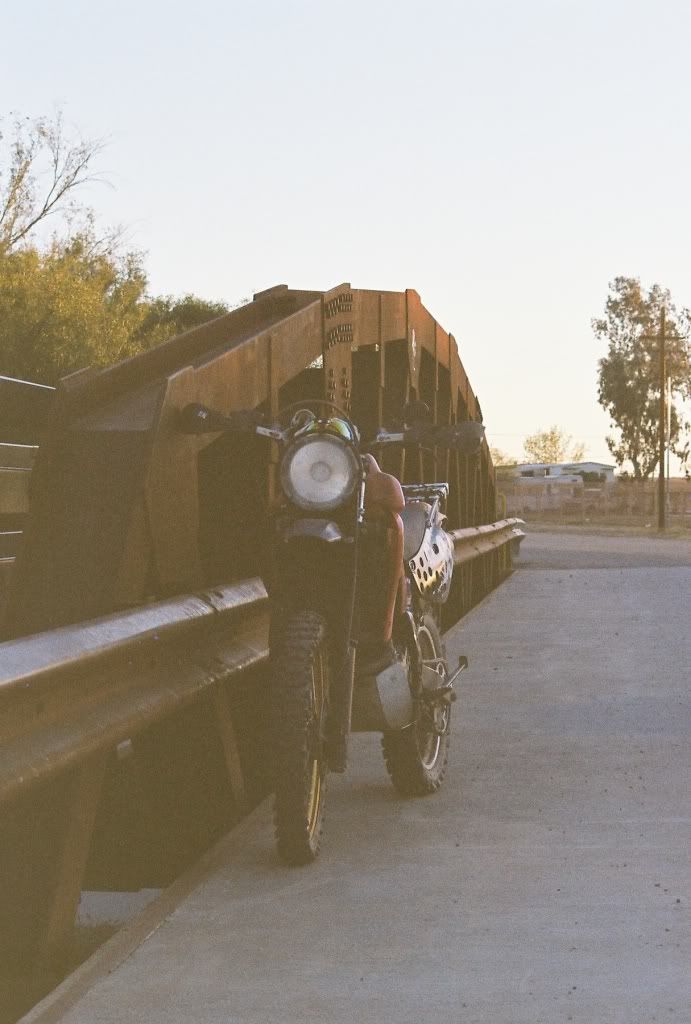
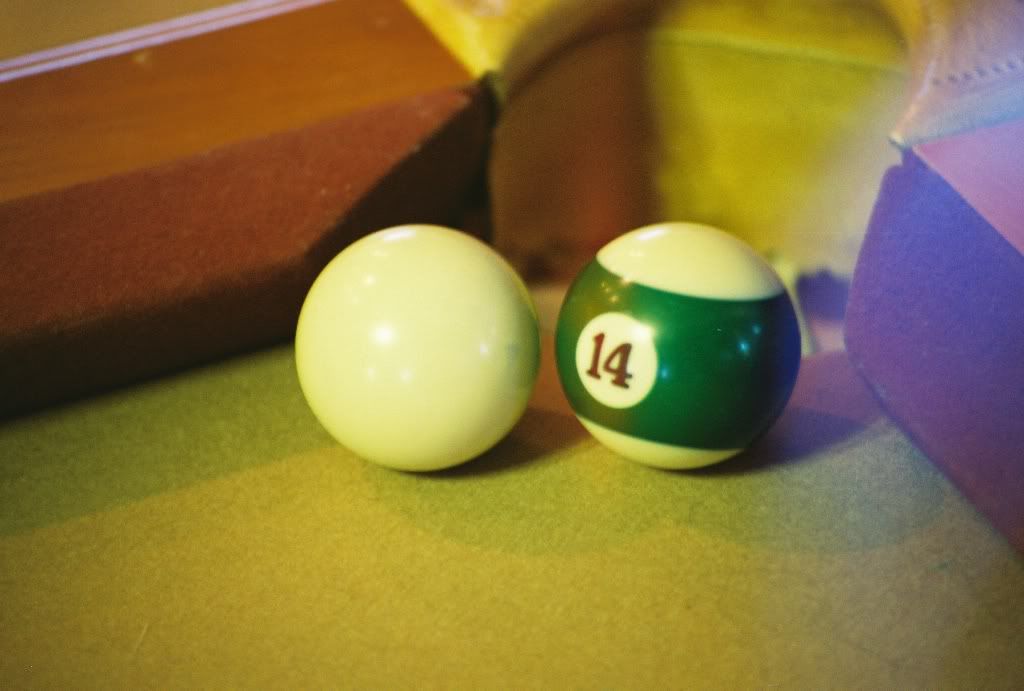
I've been shooting with a point and shoot for awhile and I recently picked up a Canon AE-1 Program to shoot film and play with lenses. Its manual focus so I figured it would teach me a bit as well. So far I have left all the other settings on program(auto). I am having a bit of issues with some pictures though that I can't figure out. I get a funky orange or blue haze over some of them, others will sometimes look like they were taken in the 70s, with a strange grainy old feel to them. All are taken with a 70-210mm tokina zoom except the couple noted which used a 28mm promaster spectrum.
These were taken with the same roll of film, kodak 400, all same day.
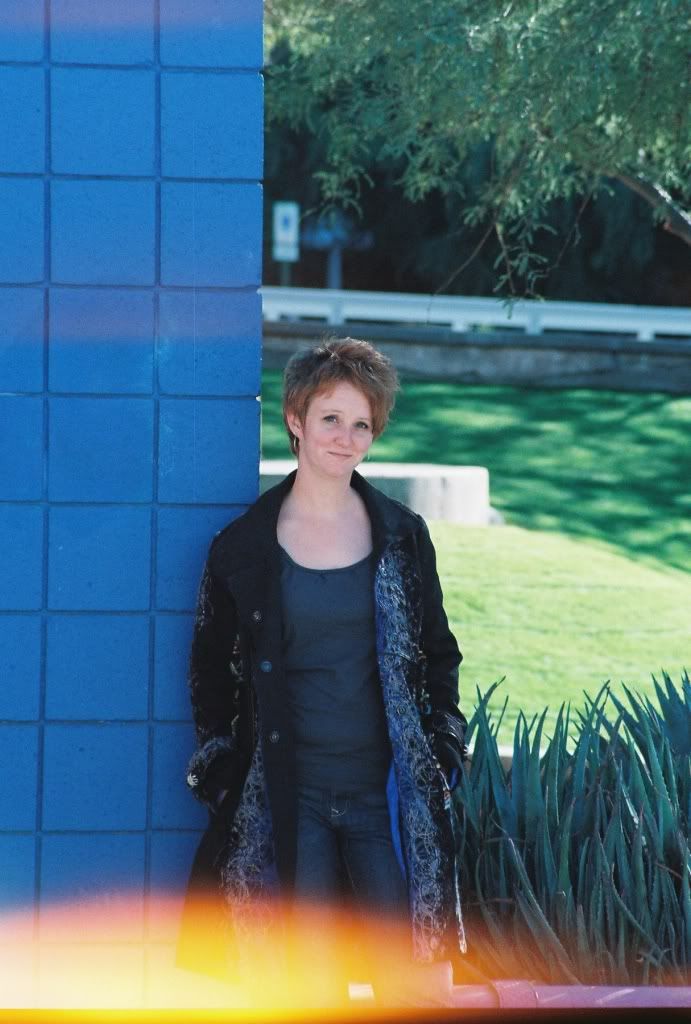
1
2
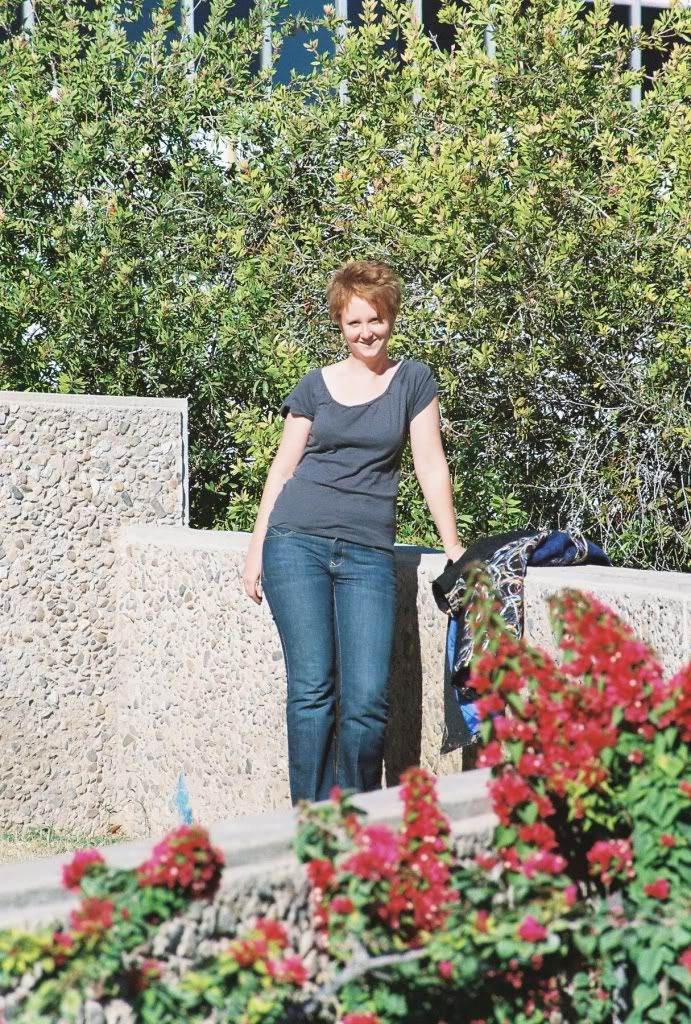
3
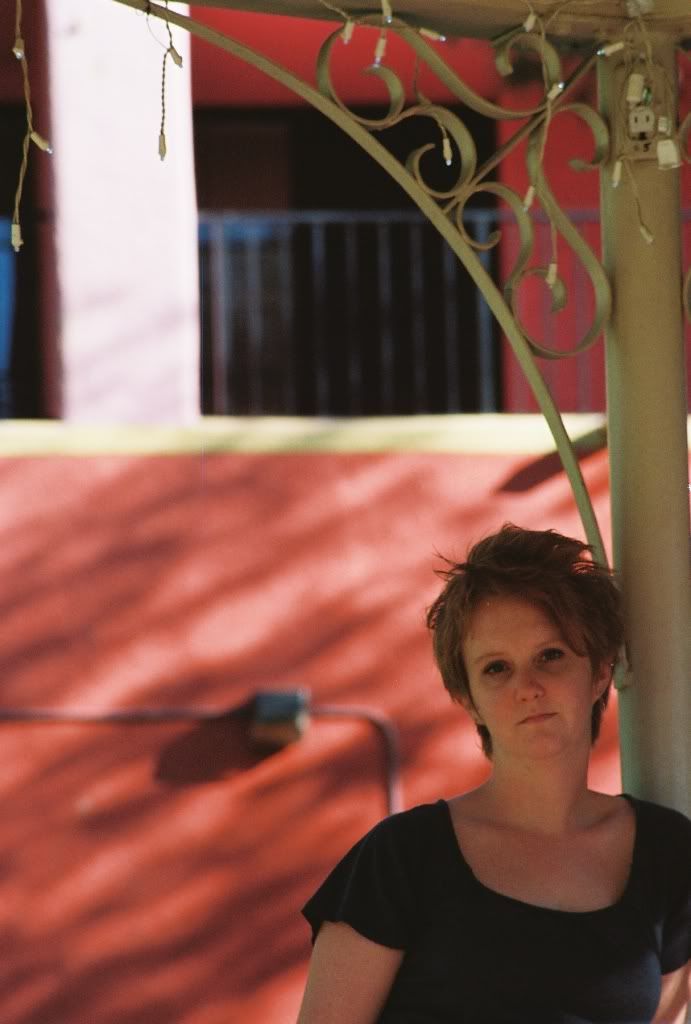
4
Some come out looking old, some sharp and crisp. Same day, same spot, different angle. Same kodak 400 film.
5
6
I thought it was all just light, but these were taken inside.
7
8
And this at night. (28mm wide angle lens)
9

So I thought it was the film. But these were taken with a different roll of film, fujifilm something 400.
10
 (28mm wide angle)
11
This one I think is just light entering the side of the lens, would a hood help?
12

I get this with different lenses, different light, different film, and it seems to be random. Is it me? Is it the camera? Processing? Too long, or short of an exposure? Can I edit this stuff out in photoshop/gimp? I have no clue. Anybody think they can help out the new kid?
These were taken with the same roll of film, kodak 400, all same day.
1
2
3
4
Some come out looking old, some sharp and crisp. Same day, same spot, different angle. Same kodak 400 film.
5
6
I thought it was all just light, but these were taken inside.
7
8
And this at night. (28mm wide angle lens)
9
So I thought it was the film. But these were taken with a different roll of film, fujifilm something 400.
10
(28mm wide angle)11
This one I think is just light entering the side of the lens, would a hood help?
12
I get this with different lenses, different light, different film, and it seems to be random. Is it me? Is it the camera? Processing? Too long, or short of an exposure? Can I edit this stuff out in photoshop/gimp? I have no clue. Anybody think they can help out the new kid?
An advrider looking to step up my photo game.
0
Comments
Could you please number your pix...that will make answering your questions much easier.
Thanks you......
Several images display sun flair, also it is not recommended to use 400iso film in the bright day light.....here you want iso 100 film...so
that over exposing is not quite as easy to do.....it also give much better prints.
Have you confirmed that the actual prints from the film have these color shifts, of do you just have scans? I've had bad scans in the past that showed color shifts and all that. A rescan at another place showed vast improvements. Another time, scans were overly bright, appearing overexposed. The prints appeared spot on.
I'm curious if there is some sort of camera problem, i.e. First shot, 14 pool ball, and scrunch nose. The problem all appears in the right half of the photo, and to of the shots have a similar looking problem.
I'd have the images printed at another place isolate the possibility of a bad scan.
I really like the 70's look motorcycle shot, by the way. Know you probably aren't happy with it, but I think it's really cool!
Check your camera seals and try to keep the camera in an ever-ready case, if you can find one.
Use a lens hood to help with lens flare but also learn how to recognize when flare is occurring. It should be visible in the viewfinder of an SLR. When you have a global kind of lens flare it basically reduces contrast. You may be able to partially recover by adding contrast in post-processing. Regional lens flare and light leaks are very difficult to correct in post.
So:
Get lens hoods for each of your lenses.
Avoid back-lighting and pointing into the sun or light sources.
If you have filters on the lenses, the filters may be contributory to the problem. Test in difficult with and without the filters to see the difference.
Better quality lenses may also show less flare (more flare resistance).
Check the rear seals of the camera and replace if necessary. If the back is fitting poorly then you may not be able to avoid light leaks. An ever-ready case should help as well.
Moderator of the Cameras and Accessories forums
I've used four different places to develop them and there are the same colors in the prints.
I haven't been using filters. I plan to, but not yet.
I did not know that about iso film. I can't say I really understand that part of it. I guess I need to do some reading. The girl in the pictures gave me 4 or 5 rolls of film so that is what I used.
I kinda like the 70s motorcycle shot too, I just want to understand why. If I intended it I would be happy with it, but it was just random luck.
They were cheap lenses. 10 dollars each. Hopefully its not just that.
There is a very helpful local small camera shop owner nearby. I will have to ask him if he can help me fit a hood. I don't know much about them.
About the light leaks. I changed the lens midway through a roll of film. Could that be my problem? I assumed its closed enough with the mirror, but I assumed...so I'm not sure. The camera seems to be leak free, any advice on how to check it?
I will have to look closer to see if I can see the lens flair in the viewfinder.
Thank you all very much! I do appreciate the help.
Edit: By the way, feel free to critique any of those pictures if you want to. I can always use help with composition and whatnot. They aren't my best, but they are pretty representative of my normal pictures. The whole point of all of this is to learn so have at it.
It did sit in the cab of my truck, so it could have baked.
The bit that kills me is her favorite of them was the scrunched nose picture, no 11. Too bad it came out like that.
All very helpful! Keep it coming please! If I can at least limit the variables to something small then that is fine with me, less screwy pictures is good.
Moderator of the Cameras and Accessories forums
Another thing that happened a few times was that the shot was very underexposed. In one extreme example, the lab somehow salvaged the shot in one case despite me accidentally setting ISO 25,600 on ISO 400 film. Yeah, you read that right. That also gave me the results somewhat similar to your 70's MC shot. I'm assuming since youa re using ISO 400 on auto settings that you didn't somehow drastically under expose the image.
#1 is a straight light leak. Either a gap in the camera body, or the film canister, or if it was at the start of the roll it could have gotten exposed accidentally.
#2 I see nothing wrong except overexposure. It should be printed/scanned darker.
#3 If the wall next to her is the same color as the walls in the background, the bright light bouncing off all the orange is making her look more orange. Since this is an environmental lighting problem, this would happen with either film or digital.
#4 Nothing really wrong except overexposure and very narrow depth of field.
#5 Nothing really wrong, just needs better post-scan processing
#6 This is a severely underexposed negative that was boosted by the auto enlarger or digital processor. I say that because the shadow and midtone detail is very weak or nonexistent, and the highlights are totally blown. This suggests a large amount of brightening was needed after it was shot. Probably the auto exposure in the camera was fooled for some reason.
#7 This is a white balance problem. The film is balanced for daylight, and the farther the light is from that, the crappier the colors look. This was shot under indoor light. There is some kind of flare, light leak, or film problem at the right side which is a separate issue.
#8 Same deal as #7. If you put this into your software and click a gray eyedropper on the part that is supposed to be white, it should look better after that. In other words, it could use more post-processing.
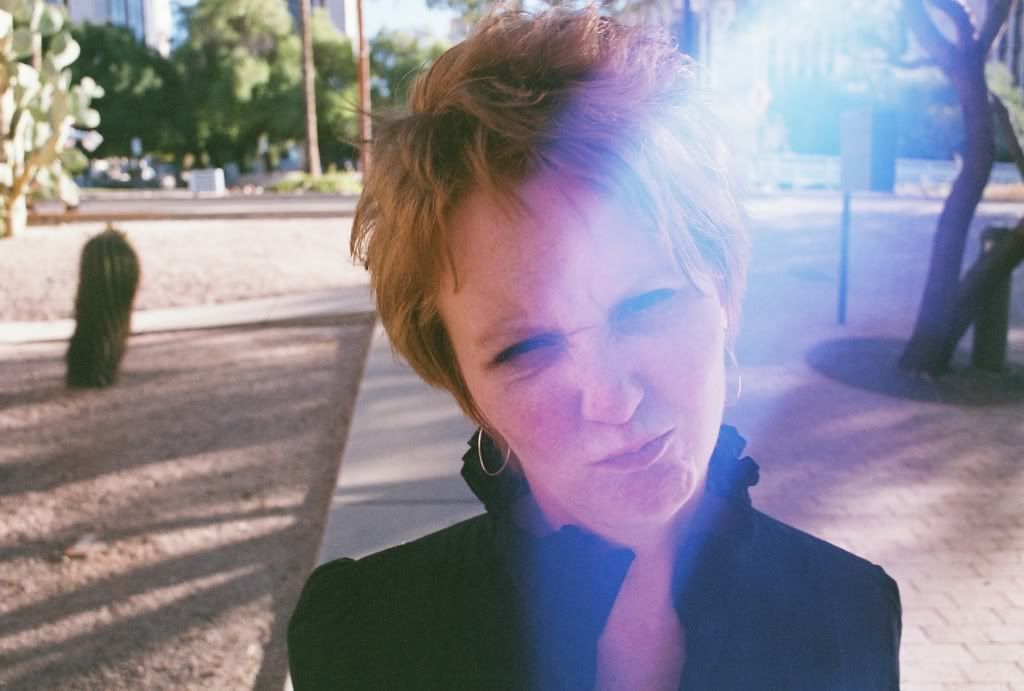
#9 The two problems here are again, white balance, it was probably shot under mercury vapor or sodium street lamps which have awful color. In addition there seems to be flare from the lamps above. That's the blue part.
#11 and especially 12 do seem to be serious flare from a cheap lens or a hood is needed.
Underexposure and flare both cause loss of contrast (can look like haze). Underexposure will do it evenly across the film, flare will create distinct shapes.
If you're going to work with film a lot, you should read up on some of the techniques for correcting scans. While it is similar to working with digital, it's enough different that you should know about them. Like you might not be able to use raw correction tools, but have to color balance and correct the "old" Photoshop way with curves and levels.
You'll need to learn to tell the difference between problems caused by
Lens flare
Body light leak
Exposure error
Contrast loss from underexposure
Contrast loss from flare
Blur caused by focus error
Blur caused by camera movement + slow shutter speed
Color balance error due to film or wrong lighting for the film (fixable only with filter or choosing differently balanced film)
Color error due to surrounding colors (grass, walls...)
Insufficient post processing
It's a good learning exercise!
Actually I will add a bit....Thank you for numbering, thank you for the large size pix.....but please next time give us more info like......shutter speed, aperture, film speed (which you did - ISO), what mode you were shooting in: manual, aperture priority, shutter speed priority or program..........and I like to have people start with aperture priority.....that way you can learn the correlation between......watch carefully what the camera does when you change between different f stops (you can do this with out any film...it is simply to show you what happens when you change apertures......now when you go shoot shoot in full manual......and KEEP NOTES ON EACH AND EVERY SHOT UNTIL YOU'RE CONFIDENT OF WHAT YOU'RE DOING AND THE RESULTS you are getting........after 30yrs I still keep notes.....instead of pencil and paper I use digital recorders and I keep spare batteries for the recorder as well as all camera equipment.
Good Luck with your photo education.......
Yes...because unlike digital, you don't have the luxury of looking at the EXIF data afterwards to see what the exposure settings were. So you've got to record the shot data yourself, to learn.
Thanks!