water drop.. attempt 2
 racefan
Registered Users Posts: 133 Major grins
racefan
Registered Users Posts: 133 Major grins
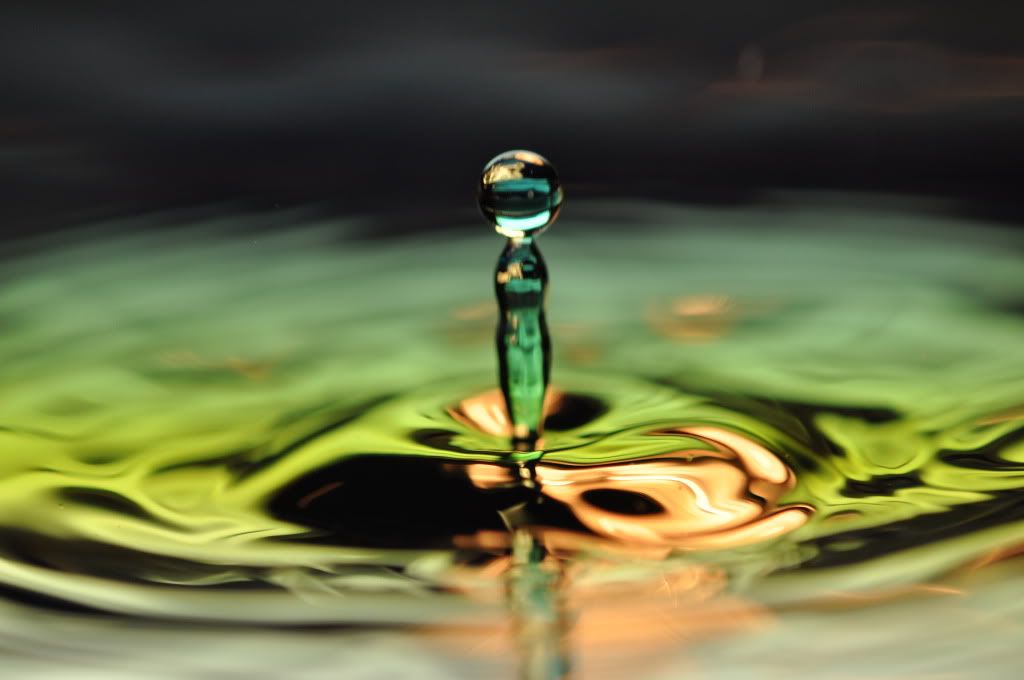
i know these are not perfect but better then the first time. I will say for everyone that gets theres crystal clear you either have a lot of patience or im still doing something wrong.
i set up a pan filled with water and a bagger fiiled with water to put a hole in for the drip. after i put the whole in the baggy to get where the drip was hitting, i then used a pen to set my auto focus and after doing so i switched the camera to manual. i used my corded remote for the shutter. There not as sharp as i would like.
all C & C welcome......thanks
1

2
3

4
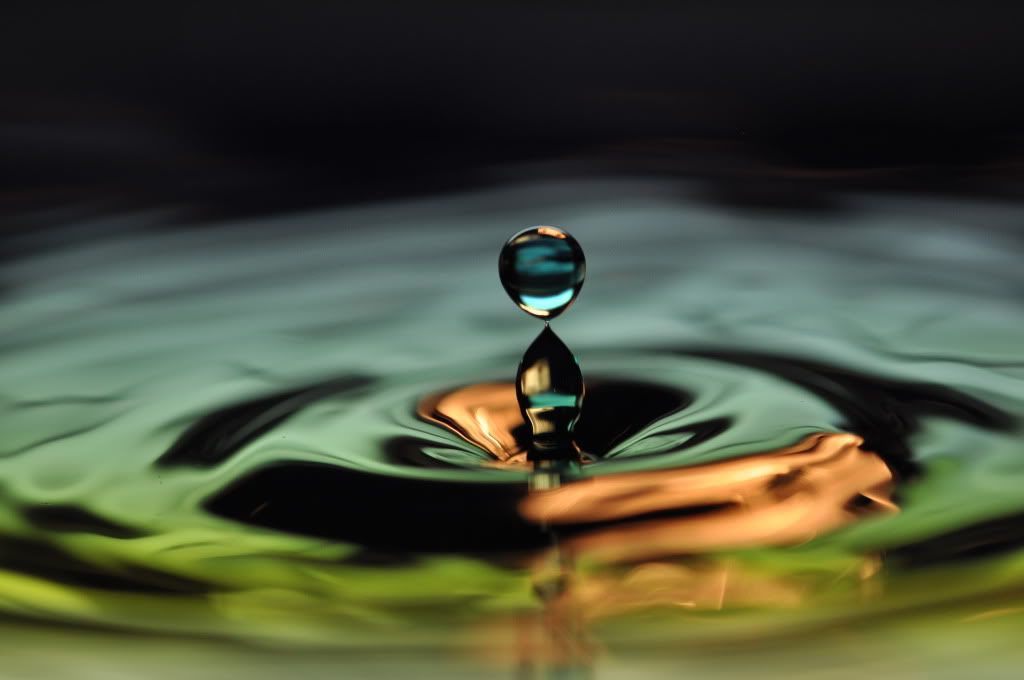
i set up a pan filled with water and a bagger fiiled with water to put a hole in for the drip. after i put the whole in the baggy to get where the drip was hitting, i then used a pen to set my auto focus and after doing so i switched the camera to manual. i used my corded remote for the shutter. There not as sharp as i would like.
all C & C welcome......thanks
1
2
3
4
0
Comments
One thing re the setup. I think most people take these with flash which allows a smaller aperture and hence greater dof. eg camera in manual 1/200th ISo100/200, Flash in TTL, F11/F13 (This may be near F22-F26 on a NIkon with the lens near 1:1)
Brian V.
http://www.flickr.com/photos/lordv/
http://www.lordv.smugmug.com/
My best mixture I've found is ISO 400 f15 with a sync speed of 1/250. I'm using a Canon ST-E2 transmitter to control my two Speedlites via TTL, but I'm guessing they are firing at about 1/4 power.
It's a little backwards thinking really. Basically the lower power flash you can use, the sharper your images will be. Play with your other settings to get the highest f-Stop you can get, but keep that flash turned down.
Another little trick is to keep your lens pointed as perpendicular as possible to the plane of the dropping water. That way, the focus will be on the water the whole way down and not just where you focused.
Anyway, good luck. Water drops are really addicting, especially when you start getting it figured out.
-Rob
Rob Pauza Photography
Here's a tip the 'dropheads' among us may find useful:
When setting focus for water drop shots, I place an NPT hose fitting in the pan and release several drop one at a time. As the drops fall, I reposition the fitting so the drops will fall into the open end. This is dead center. Then I simply focus on the fitting.
The different diameters of the fitting allow me to judge what DOF will look like at various focus settings. If I want the column in sharp focus, I focus on the hole at the top. If I want a splash ring to be in focus I use the wider part of the fitting at the bottom.
Any object could be used for focusing, but I find the different diameters of the fitting very useful.