Learning to use LAB color space
Well, I just had to have a go at it. I read an article (here in pdf) on using LAB to achieve a Fuji Velvia effect. So, I took some pictures today with my V3 and used his technique and then used my normal RGB processing.
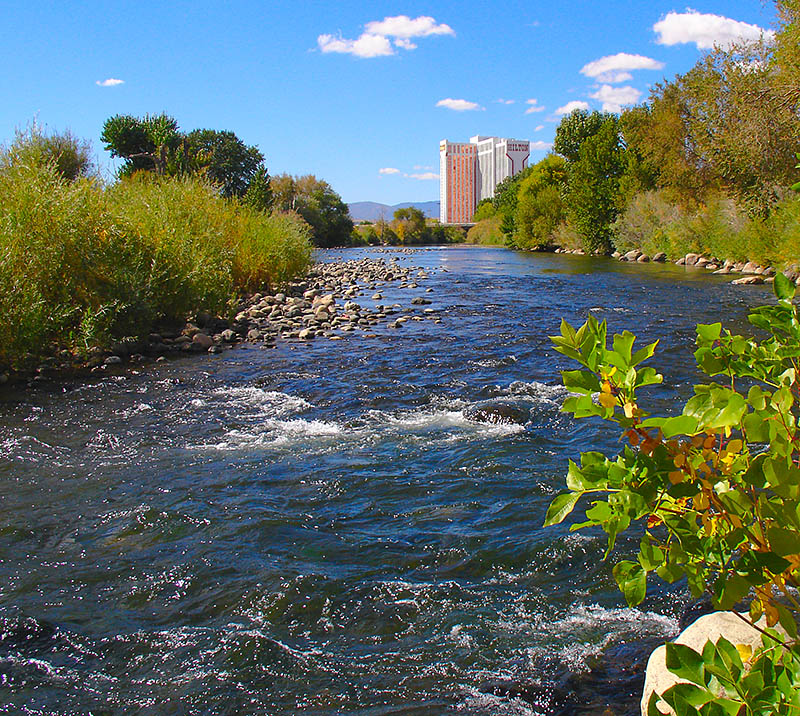
My conclusion is it is easier to get the pop in LAB than playing with the Hue/Sat adjustment layer. What I did see is that if I push the blue in the sky in RGB as far as I did in LAB, the contact between sky and clouds got funky. The RGB below was pushed but not to the same level as the LAB because it started to do some wierd things. The histogram of the original was fairly well centered. Now, I'm no retouch expert so these could have been done much better, but I do see some potential for using LAB. It's not for everyone, but it'll be a tool in my toolbox. Here are the two results:
RGB

Sony DSC-V3 1/500s f/5.6 at 7.0mm iso100
And the LAB version

Sony DSC-V3 1/500s f/5.6 at 7.0mm iso100
Just thought I'd share my inexperienced conclusion playing with LAB. I had to compress quite a bit to get a reasonable file size. Both examples are compressed at the same setting.
Chris
My conclusion is it is easier to get the pop in LAB than playing with the Hue/Sat adjustment layer. What I did see is that if I push the blue in the sky in RGB as far as I did in LAB, the contact between sky and clouds got funky. The RGB below was pushed but not to the same level as the LAB because it started to do some wierd things. The histogram of the original was fairly well centered. Now, I'm no retouch expert so these could have been done much better, but I do see some potential for using LAB. It's not for everyone, but it'll be a tool in my toolbox. Here are the two results:
RGB

Sony DSC-V3 1/500s f/5.6 at 7.0mm iso100
And the LAB version

Sony DSC-V3 1/500s f/5.6 at 7.0mm iso100
Just thought I'd share my inexperienced conclusion playing with LAB. I had to compress quite a bit to get a reasonable file size. Both examples are compressed at the same setting.
Chris
A picture is but words to the eyes.
Comments are always welcome.
www.pbase.com/Higgmeister
0
Comments
I have an example of my own here also. The first frame was shot with a 10D in Oct 2003 of a statue outside the Aquarium in Chattanooga.
The second image is the very same image with the a curve steepened at the 15 degree mark evenly and the b curve at the 10 mark evenly. Notice the increase in the reds and greens in the statue. I also sharpened in the L channel .
Again notice the improvment in the color depth or overall tonality.
Moderator of the Technique Forum and Finishing School on Dgrin
I see a distinct difference between the first two shots, but I was racking out my eyes with the last two. They looked the same, which they are (properties points to the same file, ooops).
LAB is definately worth playing with. Hmmm, now I need to find the sharpening technique of the L channel.
Chris
A picture is but words to the eyes.
Comments are always welcome.
www.pbase.com/Higgmeister
I've also been dabbling in the LAB mode and have been pleased with my results so far. I'm just a noob though. If you haven't purchased Dan Margulis book on LAB yet, it's well worth the price.
To sharpen the L channel
- I like to sharpen on a separate layer so I first make a new composite layer.
- Then go to the Channel palette and click on the L channel
- Sharpen with USM.
- Then go back to the Channel palette and click on LAB composite Channel.
You might look at this thread for more details http://dgrin.com/showthread.php?t=18308Regards,
My Photo gallery- rohirrim.smugmug.com
Selective Sharpening Tutorial
Making a Frame for your image (Tutorial)
I'll have to give the sharpening a try. I just took a quick glance at your link (I knew it existed, just hadn't gotten there yet) and found that is just what I did. LAB seems quite intuitive for me but need to get used to what way the curves need to go for color cast correction. Trial and error till I get the book.
Thanks again Steve,
Chris
A picture is but words to the eyes.
Comments are always welcome.
www.pbase.com/Higgmeister
Every time I look it gets better, mostly because of the colors.
ginger
(I am not being paid for this plug, it is the ab truth!)