DIY snoot for product photography
DIY snoot for product photography
Greetings,
I've been looking for an excuse to experiment with a snoot for product shots and made the time today
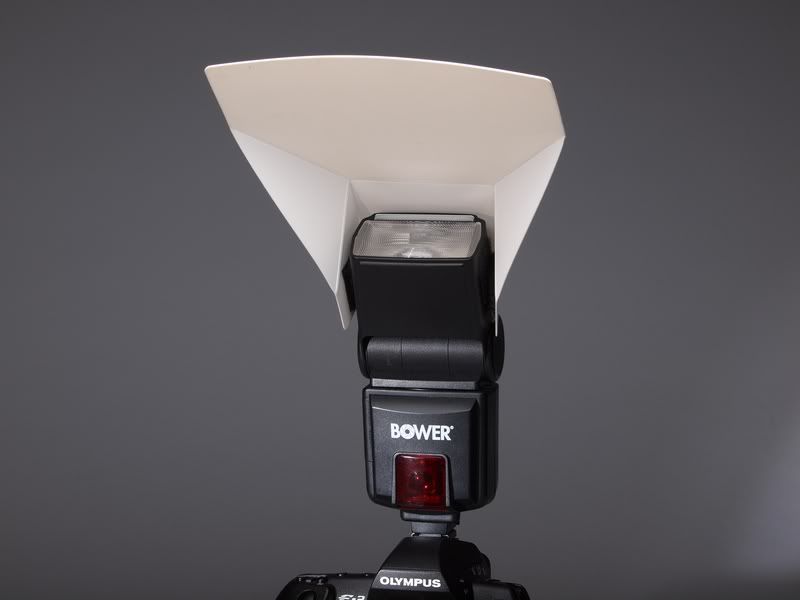
The subject is a Bower flash that I had up for sale. Shot with an overhead strobe and 18" x 18" softbox.
<TABLE id=ncode_imageresizer_warning_1 class=ncode_imageresizer_warning width=603><TBODY><TR><TD class=td1 width=20> </TD><TD class=td2>This image has been resized. Click this bar to view the full image. The original image is sized 800x795 and weights 303KB.</TD></TR></TBODY></TABLE>
I felt the original image could benefit from some directed light on the base of the flash and went to work..
I cut a 7" circle out of 1/4" MDF and made an opening to accept a 13" x 3 1/2" cardboard tube which was handy and seemed to be long enough. Also made an insert with a 2" opening for comparison.
Couple of screws to mount it to the reflector.
ALL images are SOOC. Notice I abandoned by POS ebay graduated vinyl backdrop in lieu of seamless gray paper.


Started shooting with the 2" opening. The object itself is roughly 24" from the front of the snoot and 24" forward of the backdrop.
For my final shot I added some tape to the side of the opening but found it made no difference to the background at a relatively low power.

First shot is with only the overhead strobe, 200 w/s with a 18" x 18" softbox.

Added the snoot to a B1600 @ 1/8 power (all with the 2" opening).

1/4 power.

3/8 power.

1/2 power.

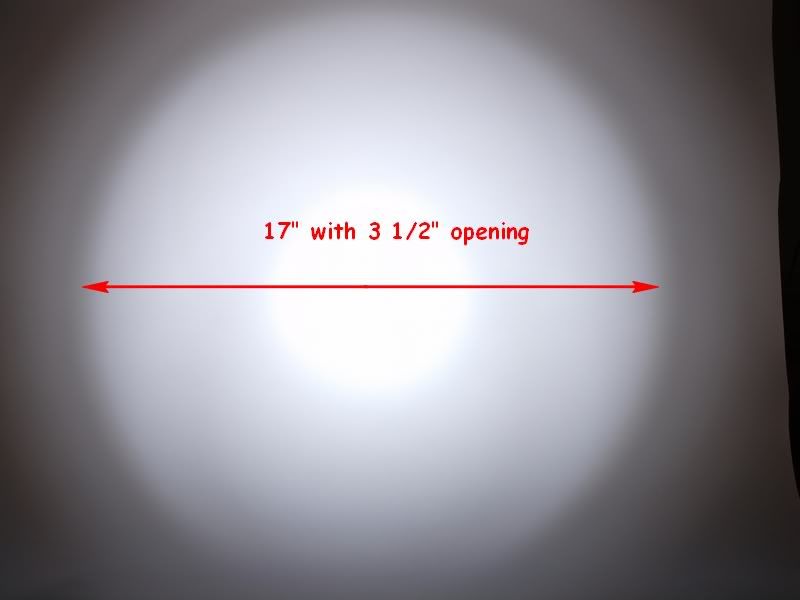
Next is a comparison of the 2" vs 3 1/2" opening. The front of the snoot and the front of the lens hood is ~66" from the 3' wide gray paper backdrop. Quick manual focus on a towel thrown over the backdrop..

Strobe at full power for both shots.


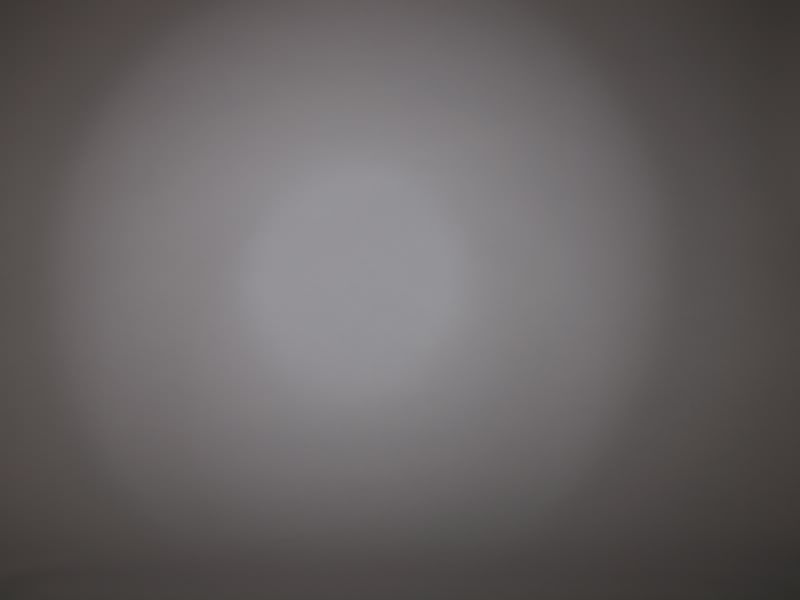
Same thing, 1/8 power...


I may experiment further with a telescoping tube inside the original at a later date, at least to see how small and well defined the spot can be.
Hope you enjoyed this little adventure, I sure did, he, he...
Cheers, Don
I've been looking for an excuse to experiment with a snoot for product shots and made the time today

The subject is a Bower flash that I had up for sale. Shot with an overhead strobe and 18" x 18" softbox.
<TABLE id=ncode_imageresizer_warning_1 class=ncode_imageresizer_warning width=603><TBODY><TR><TD class=td1 width=20>

I felt the original image could benefit from some directed light on the base of the flash and went to work..
I cut a 7" circle out of 1/4" MDF and made an opening to accept a 13" x 3 1/2" cardboard tube which was handy and seemed to be long enough. Also made an insert with a 2" opening for comparison.
Couple of screws to mount it to the reflector.
ALL images are SOOC. Notice I abandoned by POS ebay graduated vinyl backdrop in lieu of seamless gray paper.


Started shooting with the 2" opening. The object itself is roughly 24" from the front of the snoot and 24" forward of the backdrop.
For my final shot I added some tape to the side of the opening but found it made no difference to the background at a relatively low power.

First shot is with only the overhead strobe, 200 w/s with a 18" x 18" softbox.

Added the snoot to a B1600 @ 1/8 power (all with the 2" opening).

1/4 power.

3/8 power.

1/2 power.

Next is a comparison of the 2" vs 3 1/2" opening. The front of the snoot and the front of the lens hood is ~66" from the 3' wide gray paper backdrop. Quick manual focus on a towel thrown over the backdrop..

Strobe at full power for both shots.


Same thing, 1/8 power...


I may experiment further with a telescoping tube inside the original at a later date, at least to see how small and well defined the spot can be.
Hope you enjoyed this little adventure, I sure did, he, he...
Cheers, Don
0
Comments
Predrill for sheet metal screws..
Mounted on the strobe.
Cheers, Don
Product Photography
My Acreage Bird Photographs
An idea I came up with for his that worked though was it metal tube bas threaded on the outside. We got some threaded caps for the end an put different holes into them to try attachable shapes to the light. Worked pretty well. Looks like your way would be a little less expensive than his though, which is a big bonus!
instead of painting the interior of the tube I think I will cut a piece of black seamless paper, roll it up and insert
Cheers, Don
Product Photography
My Acreage Bird Photographs