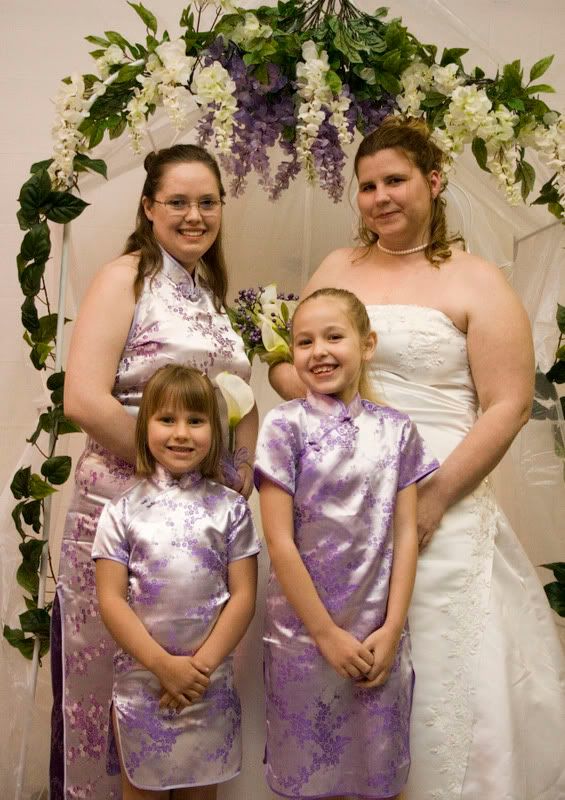
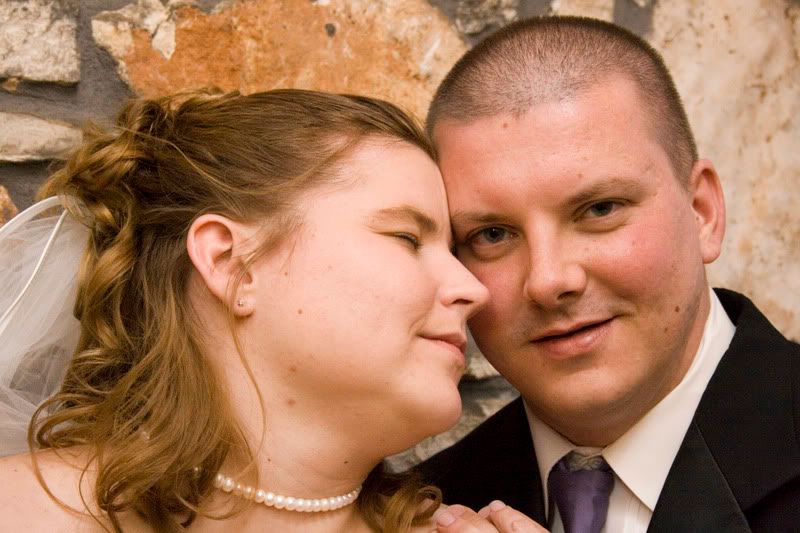
RAW....Yellow?
Help! My RAW images tend to look a little yellow! I've tried all I know in cs2, but am a baginner user. I have no idea how to get that color right. Any suggestions?:scratch


Shannon 
Canon Digital Rebel XTI, 430ex, sigma 24-70 f2.8 macro, a crummy kit lens, 4gb cf, and tons of batteries.
www.heatonphotography.net
http://picasaweb.google.com/heatonphotography
www.myspace.com/heatonphotography
Canon Digital Rebel XTI, 430ex, sigma 24-70 f2.8 macro, a crummy kit lens, 4gb cf, and tons of batteries.
www.heatonphotography.net
http://picasaweb.google.com/heatonphotography
www.myspace.com/heatonphotography
0
Comments
In ACR, you can open multiple files, set the white balance, exposure, etc. on a single image and update the rest with the identical settings. This is useful for updating a bunch of photos with the same/similar lighting conditions, i.e. no need to set each picture one at a time.
www.digismile.ca
Canon Digital Rebel XTI, 430ex, sigma 24-70 f2.8 macro, a crummy kit lens, 4gb cf, and tons of batteries.
www.heatonphotography.net
http://picasaweb.google.com/heatonphotography
www.myspace.com/heatonphotography
It should be rather easy to get good color balance if your images are RAW files.
Open a shot of the bride in the Adobe Raw Convertor, and you should see a box that rather looks like this - this is a couple of versions previously of the ARC, but it really still looks rather similar.
Find the little eyedropper that is on the left side of the dialogue box somewhere - it is in the left upper corner in thise version I am showing here - and click on the eye dropper to activate it and then click on a white area of the brides dress that you know is white but not completely blown out. This should set the white balance for your image. If you find it looks as desired, you can then use that same setting for all your images, or repeat using the eyedropper again if the lighting changed between images.
To use the same setting for each image, click on the box where it says Camera default and choose Use Previous setting and you are done.
This image also shows how to set your white point ( Exposure) and black point (Shadow) to maximize contrast and color settings.
Addendum -
I found a more recent dialogue box of ARC demonstrating setting white balance with the eye dropper - it is better to click on something that you KNOW is grey, but that can be hard to find, and we KNOW a bride's dress or a groom's shirt is usually white, so that is why I suggested the bride's dress. If you have a true neutral gray in the image, that would be even better to click on.
Moderator of the Technique Forum and Finishing School on Dgrin
But when I open them in CS2, the light setting says "as shot" I believe. Choosing different settings and they are adjusted.
I think it's just a RAW thing (not that I know what I'm talking about). Cause EVERY RAW comes out yellowish, but with tweaks in color and light settings in CS2, they turn out fine.
Shannon
Canon Digital Rebel XTI, 430ex, sigma 24-70 f2.8 macro, a crummy kit lens, 4gb cf, and tons of batteries.
www.heatonphotography.net
http://picasaweb.google.com/heatonphotography
www.myspace.com/heatonphotography
The WhiBal card:
http://www.rawworkflow.com/products/whibal/index.html
Cheap(ish). Have it, works well!
The Expodisc:
http://www.expodisc.com/products/products.php?catid=1&category=ExpoDisc
More expensive. Have it on order. Good reviews.
Photoshop tut on YouTube:
http://www.youtube.com/watch?v=Se3htZz2noo
previously posted on the "Finishing School" board