HowTo Thread 2.2
So Lets ee those how tos (I'm looking at you Curious Camel)
Here is mine:
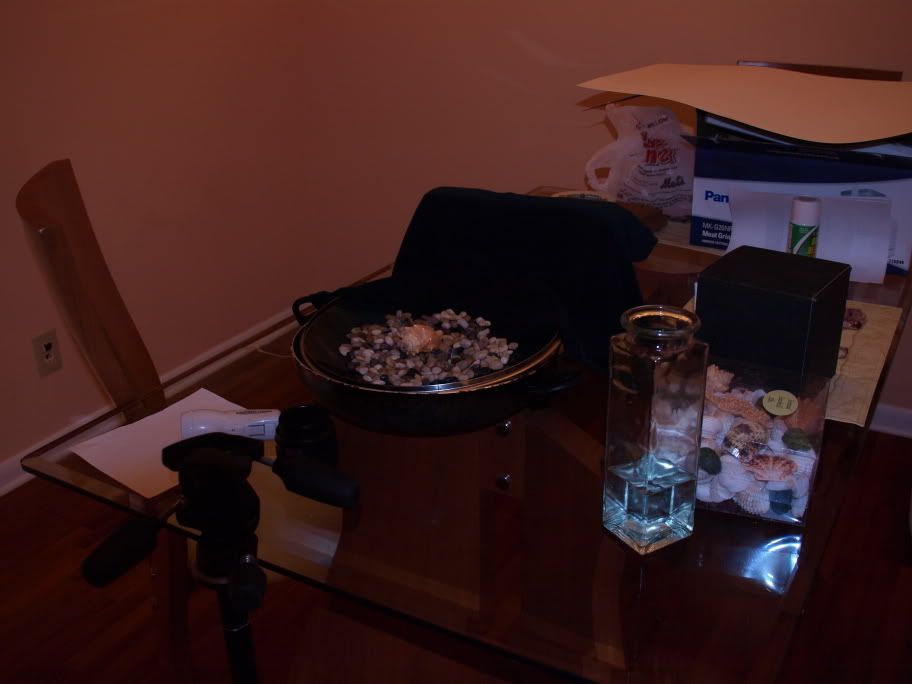
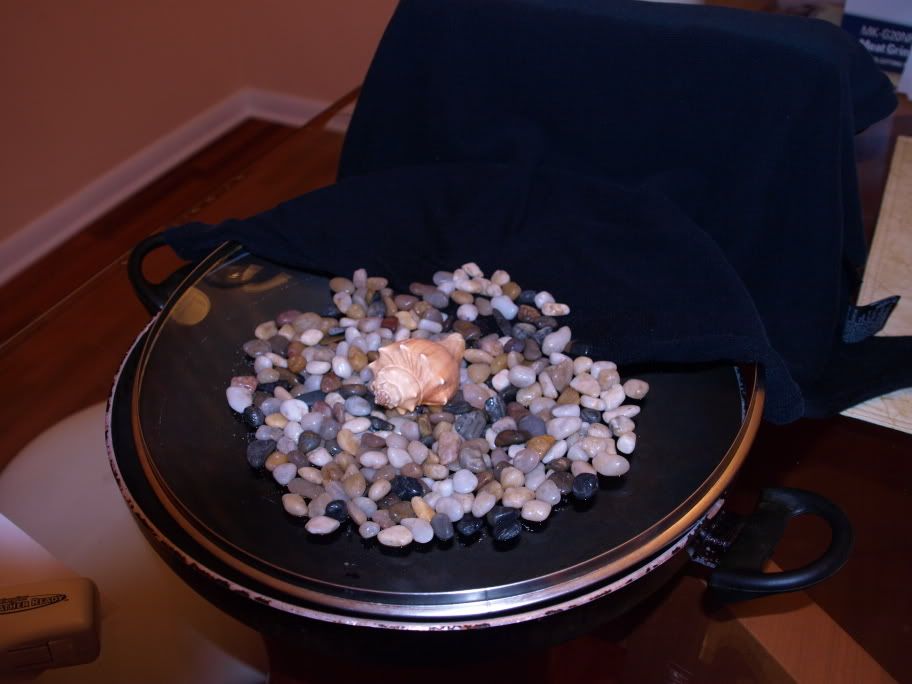
That is a large frying pan with it's lid flipped over and slightly tilted. An old black t-shirt is used for the background (i work lo-tech ). Add the shell, the stones and some water.
I was shooting off a tripod at f/18 using that flashlight for spot lighting.

There is no water in there because all of it soaked into the t-shirt LOL

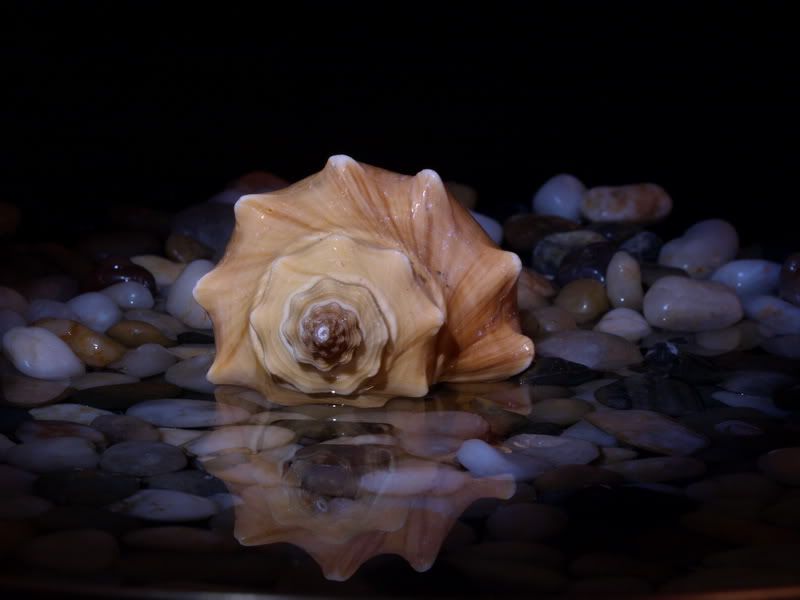
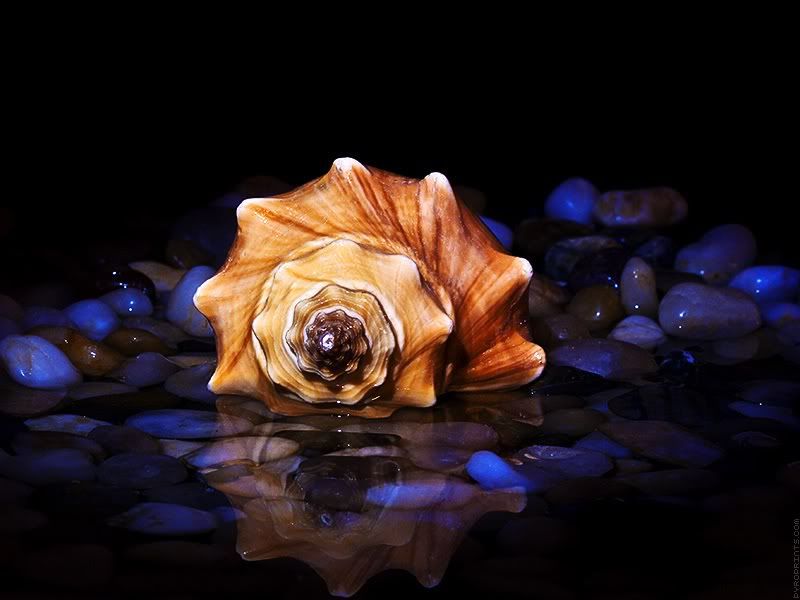
This was the shot I chose to PP. After some healing brush, contrast, and selective color came the result.


Here is mine:
That is a large frying pan with it's lid flipped over and slightly tilted. An old black t-shirt is used for the background (i work lo-tech
I was shooting off a tripod at f/18 using that flashlight for spot lighting.

There is no water in there because all of it soaked into the t-shirt LOL

This was the shot I chose to PP. After some healing brush, contrast, and selective color came the result.


0
Comments
First I enlisted the help of the two best bubble makers I know,
Greg
two of my grandchildren.
I had purchased lots and lots of bubble liquid prior to asking the boys to help and of course they were more than glad to.
At first it was just like any other kids with bubbles.
I started to spot a few I thought might work but they were to small or I just didn't like what was reflected in them.
Bottom line is we used a ton of bubbles and didn't really get what a wanted, then I seen it.
Lonesome bubble with great bokeh and a reflection I thought I could work with. I just did the usual processing. Played around more in curves until I got what I wanted. I almost didn't enter it until I asked a my brother for his opinion. So there you have it. Nothing really magical. Thanks for asking.
Peace, gail
I bet your brother is happy you decided to enter it too... congrats on placing second Gail! Thanks for showing us the behind the scenes.
Thank you to pyro too.. I love low tech setups that turn out to be wonderful images that draw you in.
nice work!:D
Thanks for sharing how you came up with your photos!
http://lrichters.smugmug.com
pyroPrints.com/5819572 The Photo Section
Thanks for starting this thread. This is one of my favorite parts of a competition is the photos and "behind the scenes".
My original set up involved my wife. She is tolerant but not patient with my hobby. I asked her to work with me...she asked how long and I said, 3 minutes. I put my boys up on the roof with a few large bottles of water. Two strobes, one behind and left and one into a shoot through umbrella, camera right with CTO gel. She kept jumping every time the water hit...don't blame her, the boys really let her have it.
The photo didn't make as strong an impact as I wanted, so I talked my 9 year old into posing. I didn't like the umbrella I used with my wife, so we used a black with silver lighting umbrella...I think most of you didn't like that about the final entry.
The boys got back on the roof (all smiles of course) and this time used the garden hose.
I had quite a few that I liked, but the one that jumped out to me the most was the one that the rear strobe didn't fire. Here are some of the others.
Congratulations to the top finishers! Amazing photos!!! and well deserving of your victory!!!
Some of My Photos: app.electrikfolio.com/v/steven-hatch
Personally I really loved your idea. I love the pink of her raincoat reflecting in the umbrella. I hope my grandaughter will let me try this shot sometime.
Peace, gail
This was a great idea for a thred. I truly enjoyed reading it. Thanks for sharing all. I was wondering about those shots too!!!!
First of all that's hilarious with your kids on the roof cracking up!
Second, I really believe if it weren't photographers looking, no one would have complained about the umbrella. I like it with the silver umbrella instead.
dak.smugmug.com
Simple set-up - a page of "honey honey honey" printed out with a drop of honey on it (obvious, I know), studio lighting. This was my first one that both of my kids liked and voted that I should enter
They liked the way the word "honey" was reflected into the smaller bubble as well, but a trusted friend said that it was too much of a distraction. So, I ended up reshooting, coming up with the one that I entered, making sure to adjust the white balance just right and upping the saturation on the honey to get that real golden color to help it pop. Cloned out a couple of smaller bubbles and burned in a couple of areas on the word honey to help keep that crisp too.
and one outtake that I did consider but didn't like as much...
Congrats btw!
dak.smugmug.com
This took a grand total of 16 minutes to get the shots.
Here is the basic shot...
The setup had a Workmate holding the hose vertical in front of a tree. The 'cheat' was to stick a wire into the ping pong ball. That allowed me to hold it in place while waiting for the camera to trip. The camera was on a tripod with a 12 sec delay after the shutter was pushed. That allowed me to get the ball into the water so it looked like it was floating. The rest was post processing to remove the wire, distort the tree, selectively brighten the water and ball with various layers, and create the 'god beams'.
Website: Tom Price Photography
Blog: Capturing Photons
Facebook: Tom Price Photography